Last updated November 17, 2026
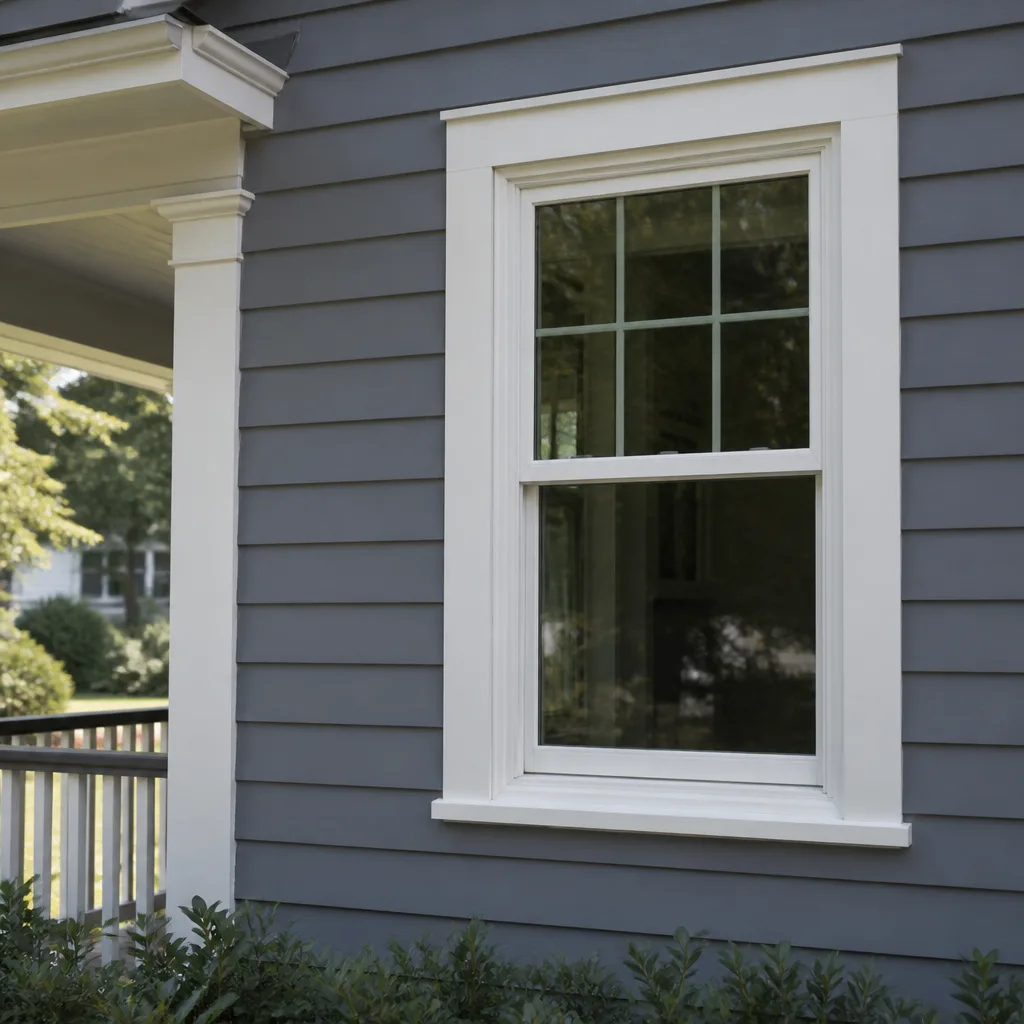 Single hung
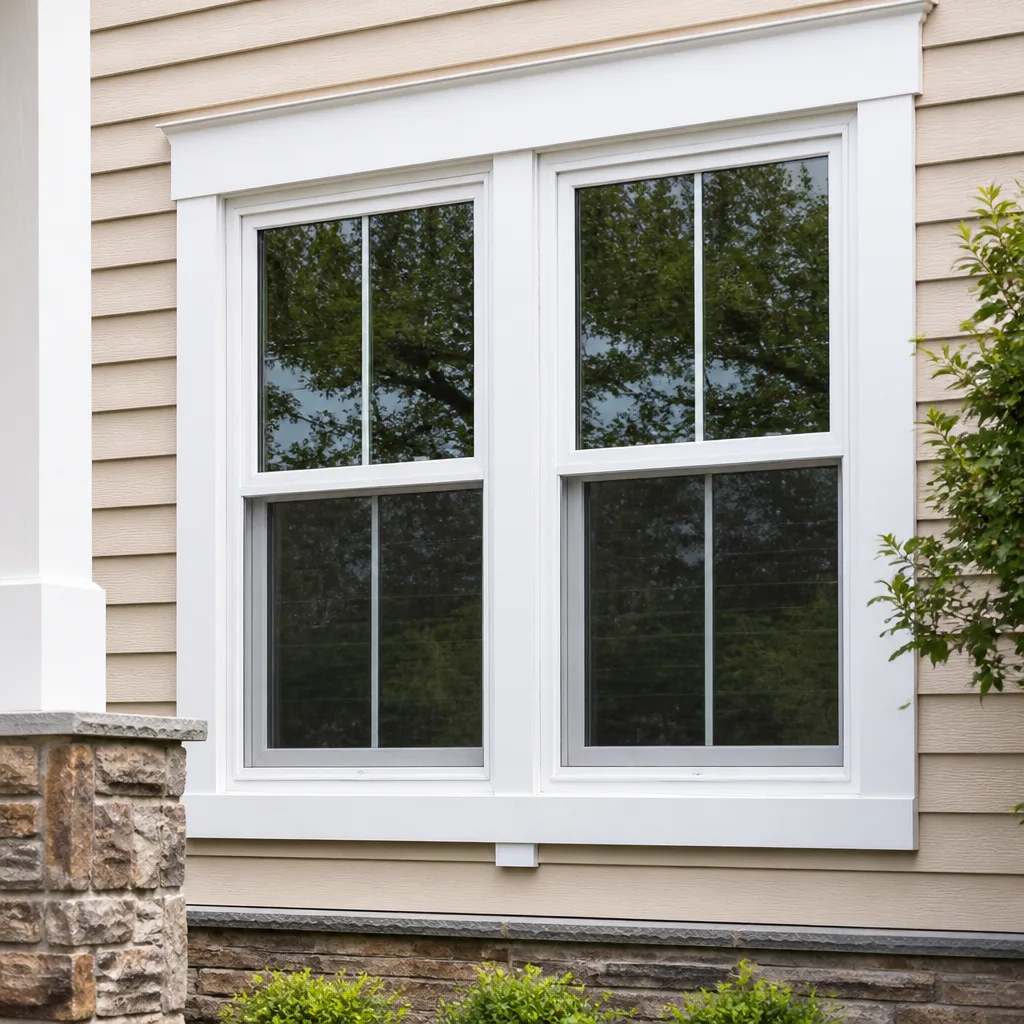 Double hung
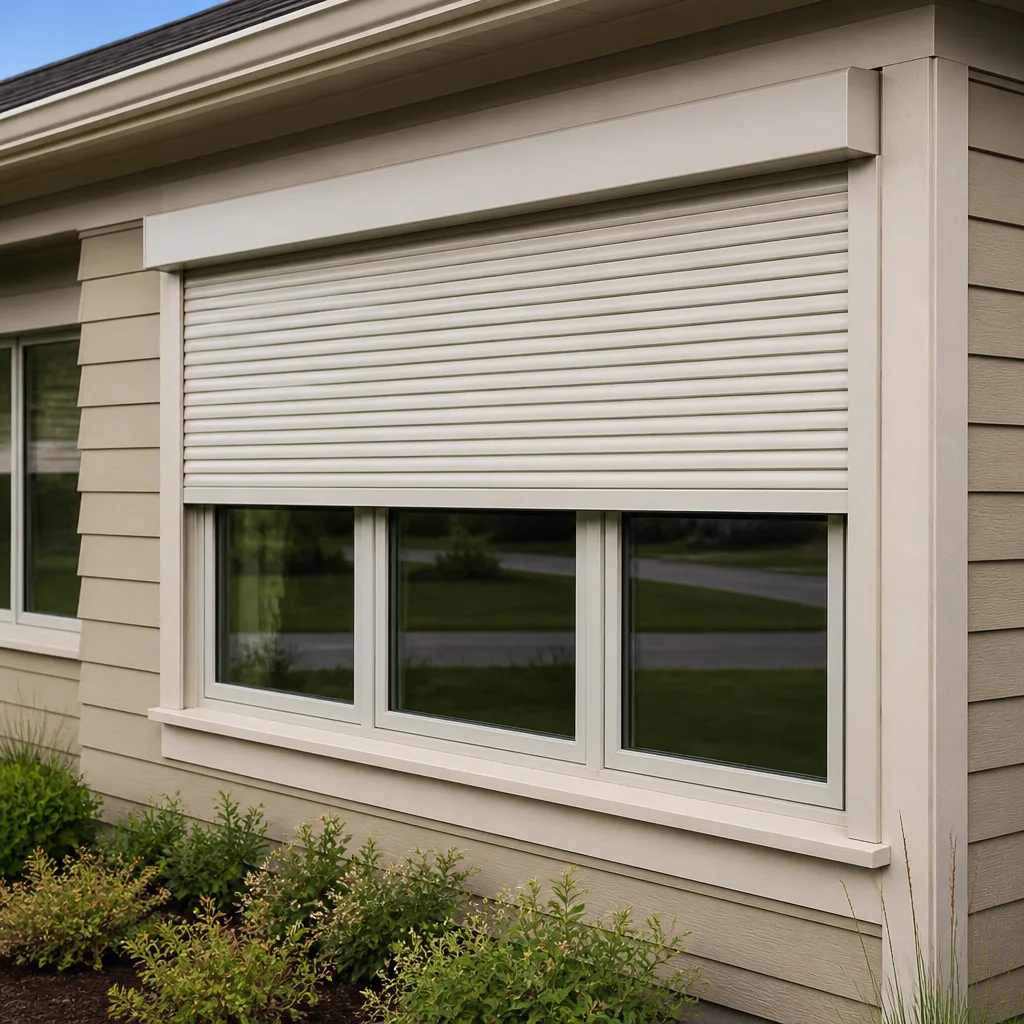 Horizontal roller
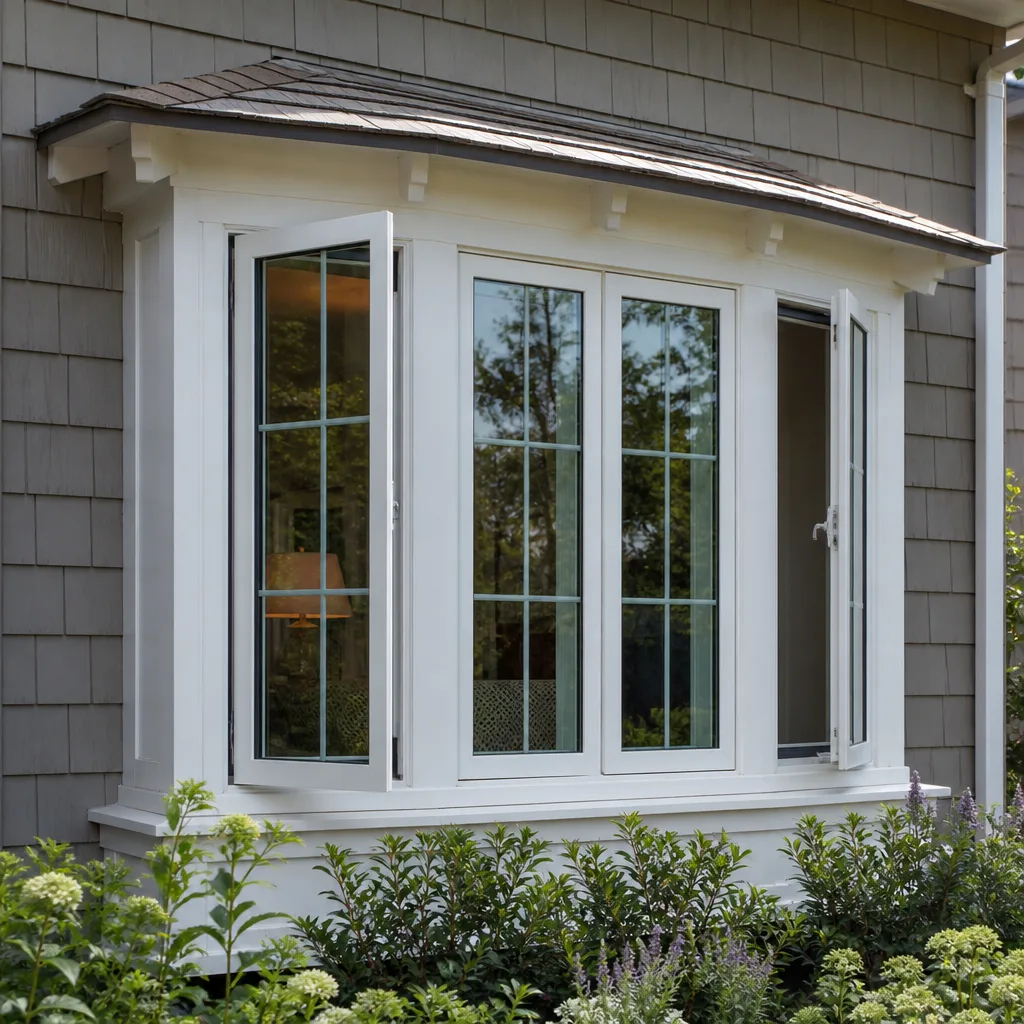 Casement
 Bay & bow
 Sliding glass doors
 Entry doors
 Impact garage doors
 PGT
 CGI
Free in-home measure and quote - PGT, CGI and CWS impact lines compared on your actual openings, style by style
Get your free estimateWindow Replacement Maintenance Checklist for Spring Valley Homeowners
Most window maintenance checklists you’ll find online were written for mild, humid climates where the biggest threats are rot and mold. Spring Valley is the opposite: dry air, relentless sun, and a daily temperature swing that can push 40 degrees between a cold desert morning and a hot afternoon. That swing works on your windows every single day. The insulated glass seal that holds the argon fill and keeps fog out is quietly flexing and contracting from the moment the sun comes up until well after it sets. Hardware loosens. Weatherstripping dries out. Expansion gaps open and close. In this guide, we’ll walk through a maintenance checklist built specifically around how windows actually fail in Spring Valley, month by month, so you can catch small problems while they’re still cheap to fix.
Quick Answer
A window maintenance checklist for Spring Valley homeowners should focus first on two failure modes the generic guides ignore: seal failure inside the insulated glass unit (IGU) and stress from daily thermal cycling. Check your glass for fogging or condensation between panes once a month, inspect weatherstripping and expansion gaps at each season change, and clear dust and sand from tracks and hardware after any windy stretch. Catching these early protects both the glass warranty and your home’s energy performance.
Styles & brands we work with
- Single hung
- Double hung
- Horizontal roller
- Casement
- Bay & bow
- Sliding glass doors
- Entry doors
- Impact garage doors
- PGT
- CGI
Table of Contents
- Why Spring Valley Windows Face Different Stress Than the Average Checklist Accounts For
- How to Spot Early IGU Seal Failure Before It Costs You
- Frame Expansion and Thermal Cycling: What to Inspect Each Season
- Weatherstripping Degradation in Dry, High-UV Conditions
- Screens, Tracks, and Hardware: Inspecting for Desert Dust and Wind-Driven Sand
- The Month-by-Month Maintenance Calendar for Spring Valley
- Your Step-by-Step Homeowner Inspection Routine
- When It’s Time to Call a Professional
Why Spring Valley Windows Face Different Stress Than the Average Checklist Accounts For
The insulated glass unit in a window installed in Spring Valley experiences roughly twice the daily thermal stress of the same unit installed in a mild coastal climate. That’s not an exaggeration for effect. It’s the arithmetic of the desert. On a typical summer day, the glass surface can heat well past 130 degrees in direct sun, then cool rapidly after sunset as the dry air releases heat fast. An IGU installed in a moderate climate might see a 20-degree daily swing. In Spring Valley, it can see 40 degrees or more, day after day. Glass seals are designed to handle movement. What they aren’t designed to handle is that movement repeated thousands of times without any humidity in the air to soften the cycle.
That’s the core reason this checklist treats seal integrity first. Impact-rated and energy-efficient products – the kind of thing we carry from brands like ES Windows and ECO Window Systems – are built with the seal engineering to handle thermal cycling. But no seal lasts forever. The homeowners who get the most years out of their glass are the ones who inspect it before small issues become warranty claims. We’ve seen the difference. Windows that get a once-a-month look last meaningfully longer than windows that get attention only when something goes visibly wrong.
What the dry air does that a humid climate doesn’t
Spring Valley’s low humidity actually helps in one respect: no rot, no mold, no swelling wood. But dry air is unforgiving on anything designed to flex. Vinyl frames that expand and contract daily will slowly push gaskets and weatherstripping out of position if there’s not enough clearance in the frame gap. Caulk that stays pliable in humid air will crack and pull away in a dry, sun-baked environment. The maintenance you do here looks different from what a homeowner in Portland or Seattle would do, even for the same window product.
How to Spot Early IGU Seal Failure Before It Costs You
IGU seal failure is the single most expensive window problem Spring Valley homeowners face, and the earliest sign is often so subtle that it gets missed until it’s no longer covered by the glass warranty. The insulated glass unit is a sealed sandwich: two panes of glass with a spacer bar, desiccant, and gas (usually argon) held between them. When the perimeter seal fails, moisture gets in and the desiccant can’t keep up. That’s when fogging begins. Once you can see condensation between the panes – not on the room-side surface, not on the exterior surface, but between the glass layers – the seal is already compromised.
The early signs, in order of appearance
- A faint cloudy haze in one corner. Usually appears in the lower edge or corner closest to the sun exposure. Looks like a smudge you can’t wipe off the inside.
- Repeating fogging that appears in the morning and clears by afternoon. The seal has begun to fail, but enough desiccant remains to absorb the moisture during the heat of the day.
- Permanent condensation between panes. The desiccant is saturated. Moisture is now visible and no longer clears.
- Silvery or streaky residue on the inner glass surface. The spacer seal has visibly degraded. This is the late stage before the unit fails completely.
- Visible glass deflection or a wavy reflection. The gas fill has escaped and the unit is no longer under the same pressure. The unit needs replacement.
Each of these stages is worth documenting with a photo and a date. Glass warranties vary by manufacturer – some are limited, some tier the coverage – but almost all require the failure to be demonstrated and reported before further damage occurs. In our experience, homeowners who photograph fogging in the early clouding stage get far better warranty outcomes than those who call six months after the pane is already solid white. Brands like Mr-Glass in our lineup are used specifically for glass replacement on failed units, so if you’re already past the warranty stage, that’s a conversation worth having.
What to check each month
- Look at each IGU at a low angle in daylight, when the sun is behind you.
- Wipe the room-side glass clean and note any haze that doesn’t lift.
- Check each pane on a cool morning after a hot day – that’s when early condensation shows.
- Photograph anything suspicious with a date reference for warranty purposes.
Frame Expansion and Thermal Cycling: What to Inspect Each Season
Vinyl window frames expand and contract with heat. This is normal and by design. What matters is whether the frame has been installed with the correct clearance so that movement doesn’t crack the seal, deform the sash, or pop the trim loose. In Spring Valley, vinyl frames experience a daily expansion-contraction cycle that a frame in a stable climate might only see seasonally. After three summers of that cycling, the frame gap condition matters.
What a healthy expansion gap looks like
- At the perimeter, between frame and rough opening: the gap should be filled with backer rod and sealant, not packed tight with rigid material. There needs to be room for movement.
- Around the sash, where it meets the frame: a small, even gap of roughly an eighth of an inch at the top and sides lets the sash open and close smoothly without binding.
- At the sill and head of the frame: no visible buckling, no cracks in the factory sealant at the corner weld, no sagging of the frame itself.
- Exterior sealant joints: intact and adhering to both surfaces. Pulled-away caulk at the frame-to-wall joint is one of the earliest signs that thermal cycling is working against you.
The seasonal inspection points
- Spring (March-April): After the coldest part of the year, check the sealant joints for cracks. Cold snaps cause contraction cracks that open wider as heat returns.
- Early summer (May): Before the peak heat cycle, verify that all operating windows open and close without binding. If they’re already tight, the frame is stressed.
- Late summer (August-September): This is peak expansion. Look for any operations that have just started to stick, sash gaps that have narrowed, or trim that has begun to pull away from the wall.
- Fall (October-November): After the last hot stretch, inspect for sealant joints that opened during peak heat. This is the best time to address exterior sealant issues before the season changes.
- Winter (December-February): Operate each window and confirm smooth movement. Cold contraction is a quiet stress. Anything binding now may fail when the heat returns.
If you notice frame corners that have opened, factory welds that are separating, or significant distortion of the frame itself, that’s a call-a-professional moment. Frame distortion is not a maintenance issue. It’s an installation or product failure. When the frames themselves are at that stage, it’s usually a sign that a window replacement is more economical than chasing individual repairs.
Weatherstripping Degradation in Dry, High-UV Conditions
Weatherstripping is the silent failure. It never shouts, it just slowly stops doing its job. In Spring Valley, the degradation timeline for standard weatherstripping is significantly shorter than in mild-climate markets because two things work against it at once: UV exposure and nearly zero humidity. UV breaks down the elastomer. Dry air draws out residual plasticizers. After a few seasons, weatherstripping that still looks fine on a quick glance can have lost most of its compression memory.
How to test weatherstripping without special tools
- The paper test. Close the window on a piece of paper and pull gently. The weatherstripping should grip the paper enough that pulling it out takes noticeable effort. If the paper slides free with almost no resistance, the strip has lost compression.
- The dollar bill test. Same idea with a slightly thicker piece of material. It doesn’t prove air infiltration, but it quickly identifies which windows need attention.
- The candle test (careful). On a windy day, hold a lit candle near the closed perimeter on the interior side. If the flame flickers, air is passing. Never do this near curtains or anything flammable.
- The dollar-bill leak detection. A dollar bill pressed against the perimeter and pulled out should show a slight drag. Anything looser than that indicates weatherstripping in decline.
When to replace before you can measure the loss
You shouldn’t wait until air infiltration is measurable on an energy bill. The right trigger is simpler: replace weatherstripping when it fails the paper test, when it has visibly stiffened or lost elasticity, when it has pulled away from the frame or sash, or when the door or window begins to rattle slightly in wind. In our experience, in Spring Valley’s sun and dry air, most weatherstripping on south- and west-facing windows should be inspected closely by the third season, and replaced as needed by the fourth or fifth. East- and north-facing windows often hold up longer. On entry doors, the threshold and door seal weatherstripping – especially on the Therma-Tru systems we install – is a different material and generally more durable, but it deserves the same inspection.
Screens, Tracks, and Hardware: Inspecting for Desert Dust and Wind-Driven Sand
Wind-driven dust is not just a cosmetic issue. In Spring Valley, fine sand and grit accumulate in window tracks and hardware channels, and once there, it grinds against rollers, slides, locks, and hinges every time the window operates. A window that closes smoothly in spring can begin to bind by late summer if the tracks haven’t been cleaned. The grit is abrasive – not just annoying.
What to inspect on screens and hardware
- Screen mesh integrity: look for punctures, sagging, or distortion from wind. Fine dust settles into the weave and clogs it over time, reducing air flow and visibility.
- Screen frame corners: the corner spline and pull tabs degrade in UV. A cracked corner lets the mesh pull loose in wind.
- Track and sill channels: inspect for packed grit, sand, and calcified dirt. Pay attention to the weep holes – if they’re blocked, water has nowhere to drain.
- Rollers and slides on sliding windows: gritty tracks wear out the rollers early. Test for smooth, quiet movement.
- Locks, latches, and cranks: operate every one and note any that stick, skip, or refuse to engage cleanly. Dry conditions accelerate hinge and latch wear more than most homeowners expect.
The cleaning routine that works in this climate
Vacuum the tracks first with a brush attachment – never blow them out with compressed air, which just drives grit deeper into the hardware. Then use a damp cloth with mild soap and water. Dry the tracks completely. Wipe a very thin film of silicone-based lubricant on sliding surfaces and rollers, not on the sealing surfaces themselves. Never use petroleum-based oils in desert dust – they attract and hold grit.
If you’re planning a larger project or a full replacement of your exterior openings, it’s worth knowing that we offer full-scope window installation that can address the whole opening – frames, glass, hardware, and weatherstripping together – rather than chasing individual components that are all aging on the same timeline.
The Month-by-Month Maintenance Calendar for Spring Valley
Generic four-season checklists don’t fit Spring Valley’s pattern. We don’t have a long, wet winter and a temperate summer. We have a hot season, a hotter season, and a short window of cooler weather that’s actually the best time for exterior maintenance. Here’s what the calendar should actually look like.
January – February (cool season)
- Deep clean all window tracks and hardware. This is the easiest season to do it because you’re not fighting 110-degree afternoons.
- Apply silicone lubricant to rollers and slides.
- Inspect exterior caulk and sealant joints for cracks from the winter temperature drop.
March – April (spring transition)
- Inspect IGU glass for early fogging or interior clouding.
- Perform the paper test on every weatherstripped window and door.
- Photograph anything suspicious for warranty documentation.
May – June (pre-peak heat)
- Verify every operating window opens and closes smoothly.
- Clear weep holes and check drainage channels.
- Clean screens and check for UV damage and mesh separation at corners.
July – August (peak heat)
- Watch for early IGU condensation events, especially in the morning after a hot prior day.
- Check interior trim and casings for any pulling away from the frame.
- Note any window that’s suddenly tight to operate; it’s a frame stress signal.
September – October (post-heat inspection)
- Inspect all exterior caulk joints, especially on south- and west-facing windows.
- Address any sealant joints that pulled away during the summer.
- Confirm window operation is smooth across the board.
November – December (cool season prep)
- Reapply silicone lubricant to any hardware that’s sticking.
- Check door threshold and weatherstripping; this is the season to catch infiltration before it’s noticeable.
- Review your IGU photo log and note anything that’s changed since spring.
Two cleanings a year plus a monthly visual inspection is the realistic minimum in this climate. That’s less time per month than most homeowners expect – maybe 15 minutes total – and it’s the difference between catching a seal failure while it’s still cheap and finding out six months later that the glass unit is a total loss.
Your Step-by-Step Homeowner Inspection Routine
Here’s the full routine in a single printable sequence. Do it once a month on a morning when the temperature hasn’t hit full heat yet – you’ll get the clearest read on condensation.
- Walk every room and look at each window at a low angle. Note any clouding, fogging, or haze between panes. Photograph anything suspicious with a date.
- Open and close each operable window slowly. Note any binding, popping, grinding, or resistance. This is the single best summary test of overall window health.
- Run the paper test on each window and door perimeter. Note any that fail.
- Inspect weatherstripping visually. Look for stiffening, cracking, pulling away from the frame, or missing sections.
- Check tracks, sills, and weep holes. Clear any visible grit or sand. Confirm weep holes are open.
- Operate every lock, latch, and crank. Note any that don’t engage cleanly.
- Inspect screen mesh and frames. Note sagging, tears, or corner separation.
- Inspect exterior caulk joints from outside. Note any that have pulled away, cracked, or failed.
- Check frame corners and trim inside. Note any separation between casing and wall, or manufacturing weld failure at the frame corners.
- Record everything in one place. A single page with dates and notes is worth more than memory when warranty time comes.
Common Mistakes to Avoid
- Waiting for solid fogging before calling about IGU seal failure. Once the pane is solid white, the warranty window is often already past its reporting deadline. Photograph and report the early clouding stage.
- Packing window tracks with petroleum jelly or generic oil. In desert dust conditions, petroleum-based products attract and bind grit, which accelerates wear on rollers and slides. Use a silicone-based product, thinly.
- Caulking over stressed or distorted frame joints. If the frame corner weld or casing joint has opened, adding caulk over the top hides a problem that needs to be understood, not patched. Address the cause first.
- Using the same maintenance routine every season. Spring Valley’s maintenance priorities shift with the calendar. Peak summer is IGU inspection season; cool season is deep-clean and sealant season. Doing the same thing all year misses the timing.
- Ignoring the interaction between weatherstripping and locks. A lock that suddenly feels loose or hard to engage is often telling you the weatherstripping has compressed and the sash has shifted. Fix the strip before a failing lock forces a hardware replacement.
- Assuming new windows don’t need maintenance. Even a high-performance unit – the kind of thing we carry from an impact line like ES Windows or an energy-focused line like ECO Window Systems – still needs periodic inspection. Thermal cycling doesn’t stop because the product is high-quality.
- Cleaning exterior glass with abrasive pads or strong solvents. This can damage low-E coatings and perimeter sealant. Use mild soap and a soft cloth, and never pressure-wash near frame joints.
See the difference
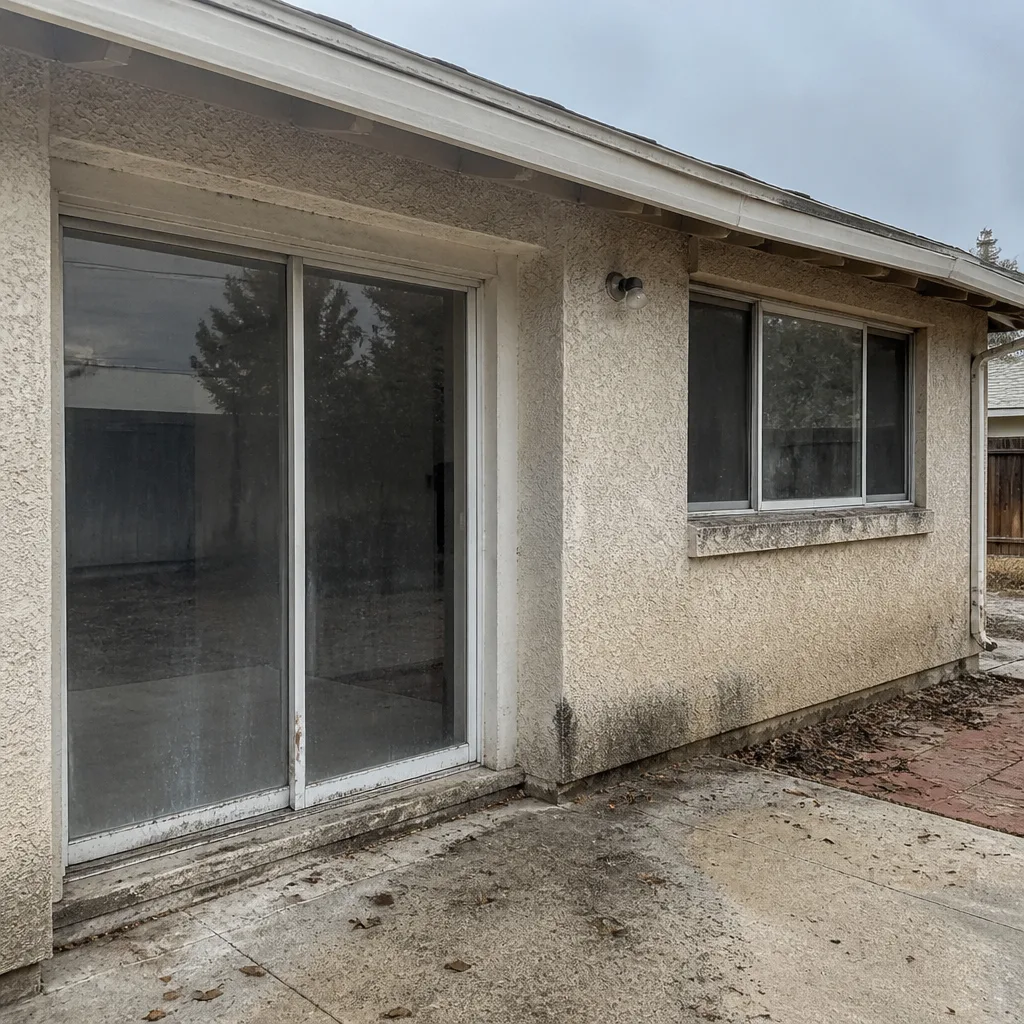 Before
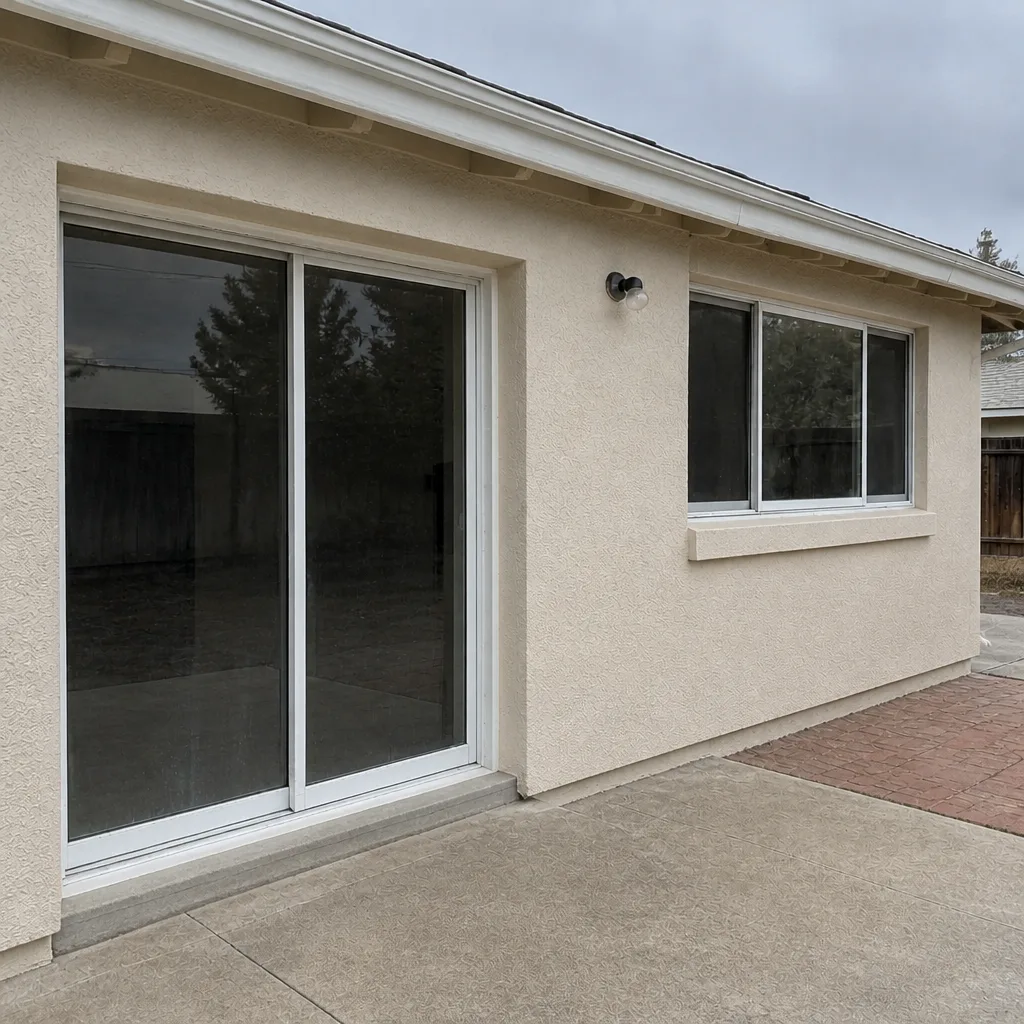 After
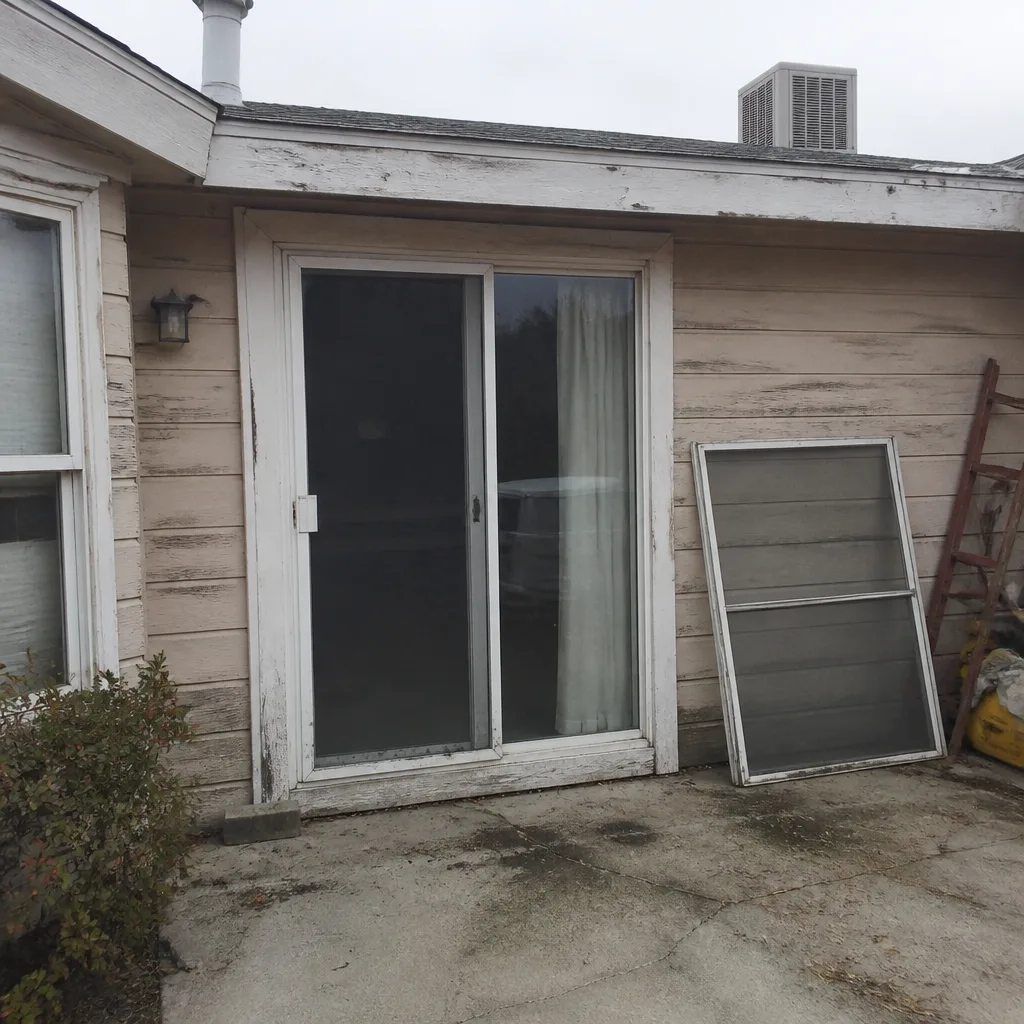 Before
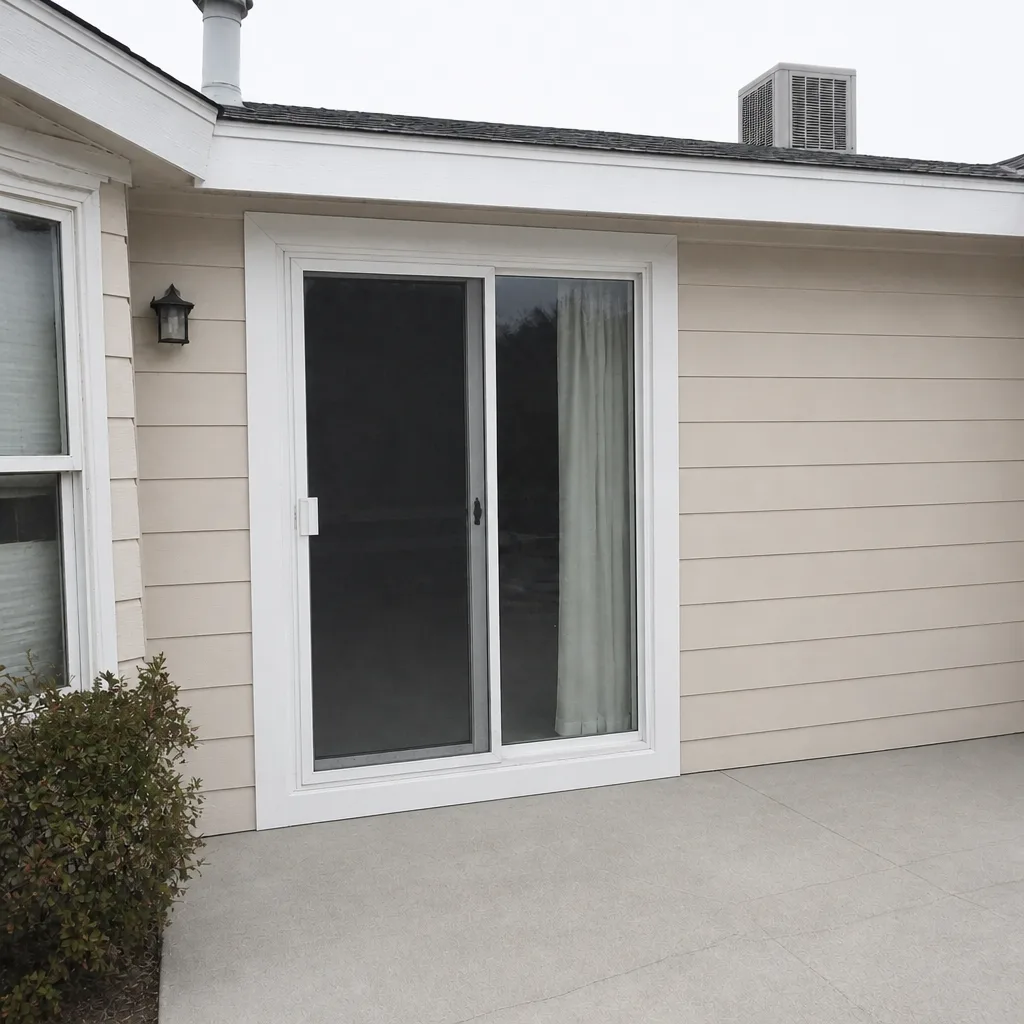 After
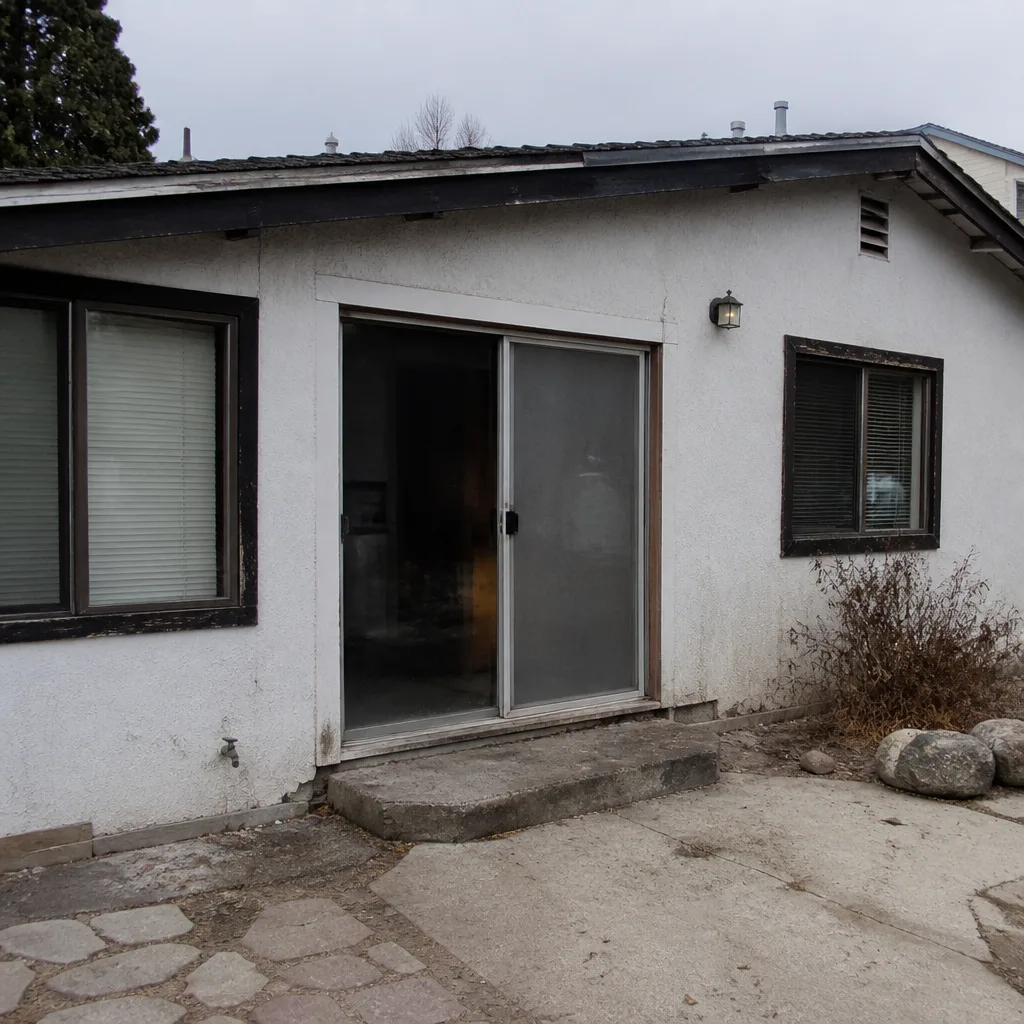 Before
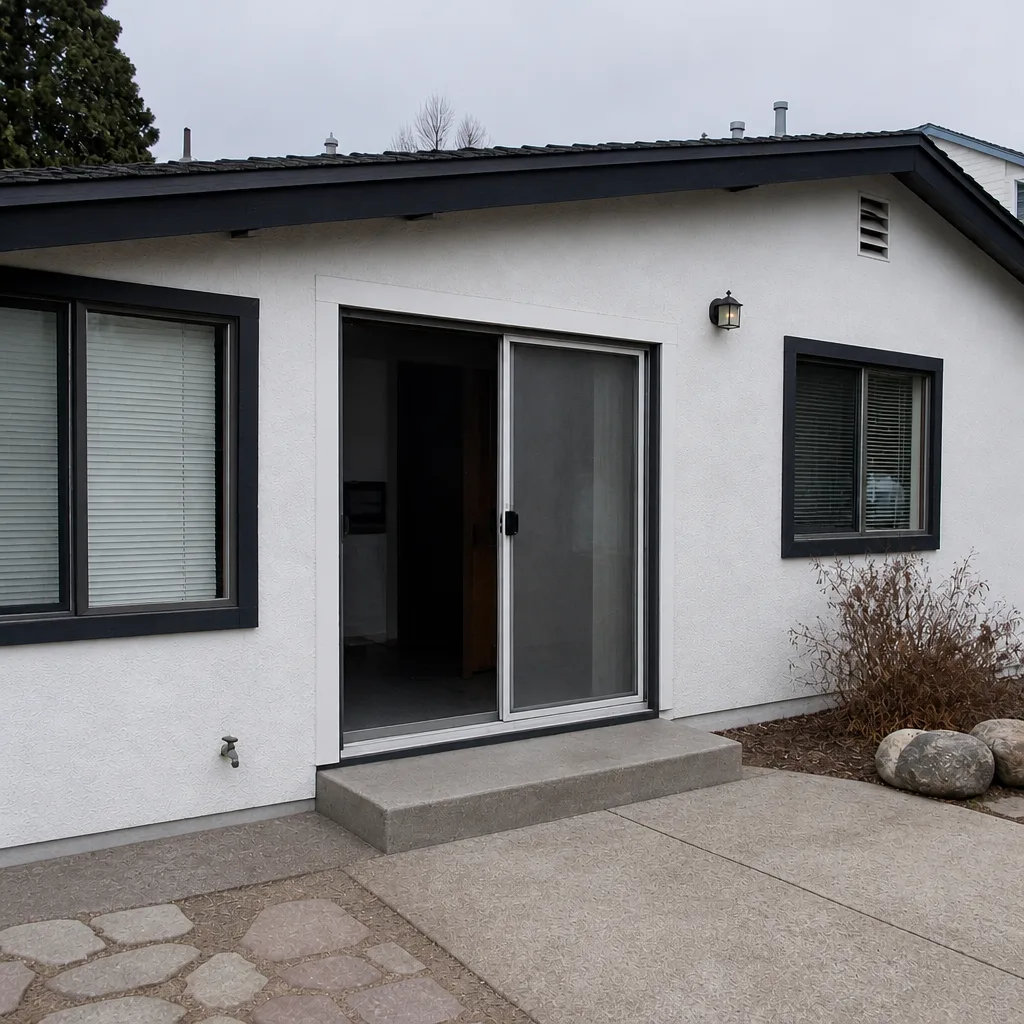 After
When to Call a Professional
Some maintenance is a homeowner job. Some is not. If you’ve documented persistent condensation between panes, seen the frame itself distort or a weld separate at the corner, or noticed that a window no longer operates without real force, that’s not a checklist item – that’s a repair or replacement decision. The same is true for exterior caulk joints that repeatedly fail after you’ve re-sealed them, and for any sign of moisture coming around the frame perimeter on the interior side, which points to a flashing issue behind the window. And if your weatherstripping has started failing across several windows at once, that’s usually an indicator that the opening as a whole needs a professional evaluation.
Spring Valley Windows & Doors offers free estimates in Spring Valley – call (833) 549-7716. We handle window replacement and door installation as one accountable scope. If you’re shopping impact-rated or energy-efficient lines, we can walk you through options from our eight-brand portfolio and give you a written line-item estimate with a fixed price so you know exactly what’s included. Call (833) 549-7716. We answer 24/7. Fast dispatch from 7am to 7pm, Sunday through Friday.
Frequently Asked Questions
Once a month is the right cadence in Spring Valley, with an extra look on a cool morning after a hot day. Early seal failure shows first as a faint corner haze or temporary fogging that clears by afternoon, and that stage is when warranty documentation is easiest to establish. If you notice clouding that doesn’t clear, photograph it and call for an inspection.
Weatherstripping on south- and west-facing windows in Spring Valley usually needs closer inspection by the third season and replacement by the fourth or fifth, depending on the product. The combination of intense UV and very low humidity accelerates elastomer breakdown faster than in a milder climate. Test it with the paper trick and replace anything that’s stopped gripping.
No. Once the seal has failed between the panes, the unit’s gas fill and desiccant layer are compromised, and they can’t be restored with cleaning or surface repair. The correct fix is replacing the IGU itself. On some windows, the glass can be swapped as a standalone unit; on others, the entire sash or window needs replacement. Call us at (833) 549-7716 for a free evaluation and estimate.
Spring (March through April) and fall (September through October) are the two best windows for a full inspection. Spring catches sealant cracks from the winter cold before the hot cycle returns. Fall catches exterior caulk joints that failed during peak summer heat. Deep cleaning is easiest in the cooler months of January and February.
That’s thermal expansion. Vinyl frames expand in the summer heat, and a window that was smooth in spring can start to bind if the frame clearance or hardware is marginal. If the binding is mild and resolves with cooler weather, it’s normal. If it persists or gets worse season to season, the frame may be improperly installed or nearing the end of its service life. Call us for a free inspection at (833) 549-7716.
Window replacement involves the full opening – frames, flashing, sealant, and hardware – and the failure modes we’ve covered here (seal integrity, expansion gaps, weatherstripping) all depend on proper installation. For single-unit replacements in a properly flashed opening, an experienced homeowner can do it. For a whole-home upgrade or any project involving exterior openings that interact with stucco or wall cladding, hire a professional. We offer free estimates in Spring Valley at (833) 549-7716.
The Bottom Line
Windows in Spring Valley face two specific stresses most generic maintenance checklists ignore: IGU seal failure driven by relentless UV exposure, and daily thermal cycling from a 40-degree temperature swing. Both are manageable with a routine inspection, and both get expensive when they’re ignored. Check your glass for any sign of fogging once a month. Run the paper test on weatherstripping at each season change. Clean your tracks and hardware twice a year, and never use oil-based products that attract dust. Keep a written record with dates and photos. And when something is past the maintenance stage – persistent condensation, frame distortion, or failing seals across multiple windows – get a professional evaluation before the warranty window closes. If you’re ready to look at replacement or upgrade options across our portfolio of ES Windows, ECO Window Systems, Spring Valley, and more, we’re one call away.
Learn more about Spring Valley Windows & Doors and how we match the product to your home – not to our inventory.
Call (833) 549-7716 for a free estimate.
Written by the team at Spring Valley Windows & Doors.