Last updated November 17, 2026
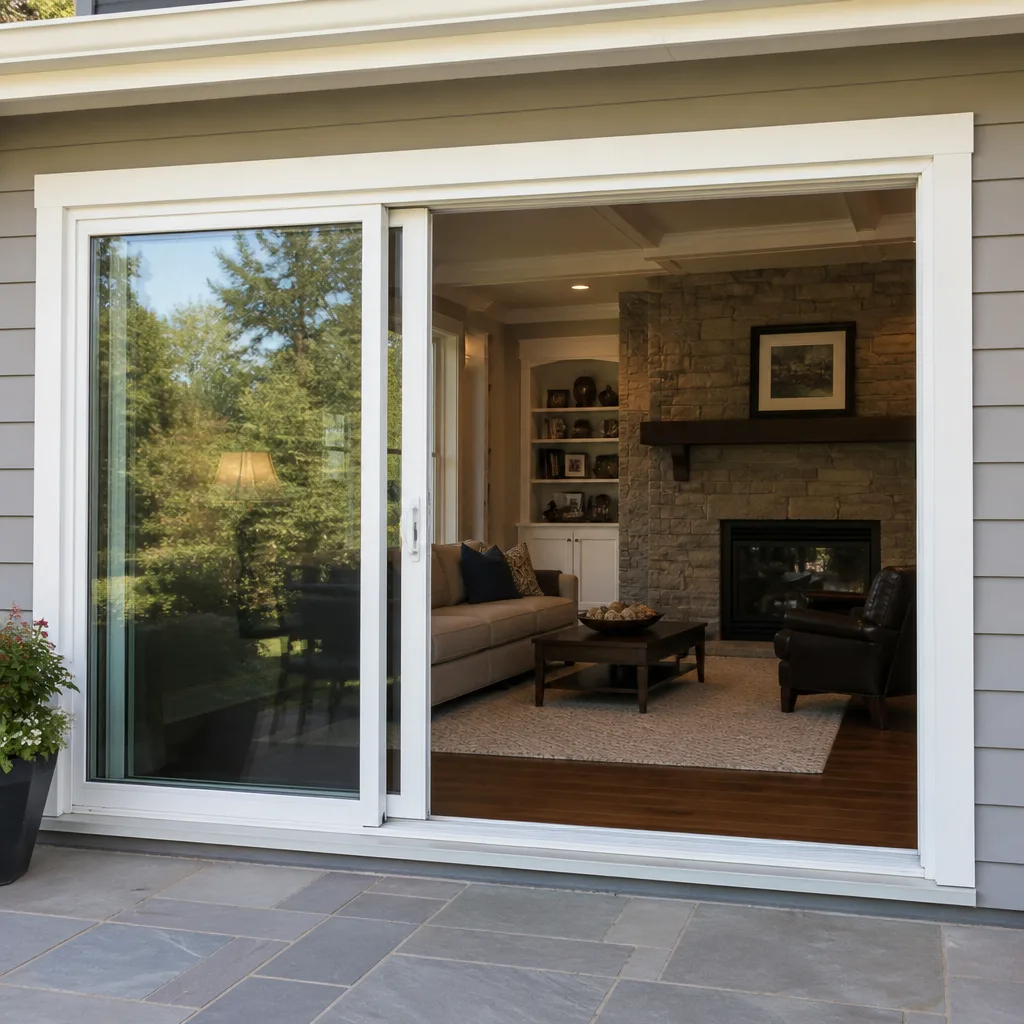 Sliding glass doors
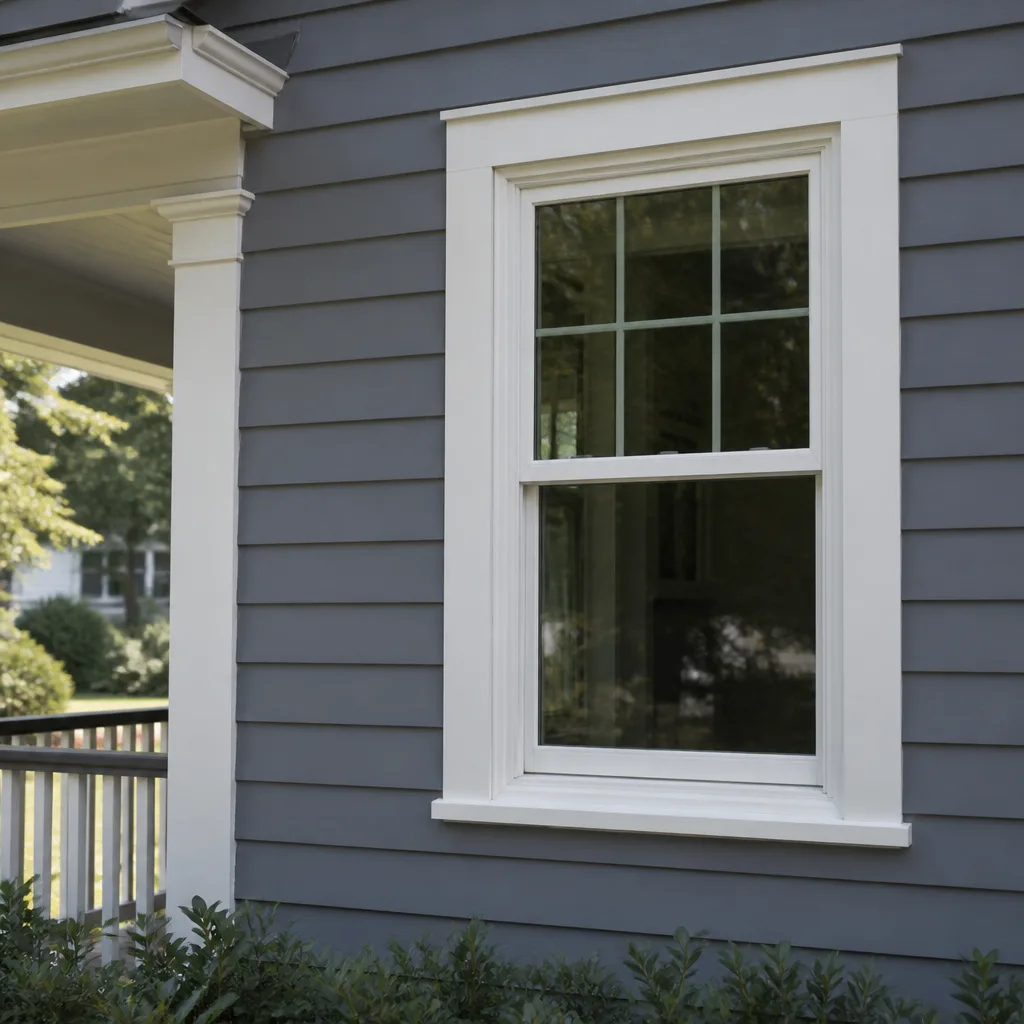 Single hung
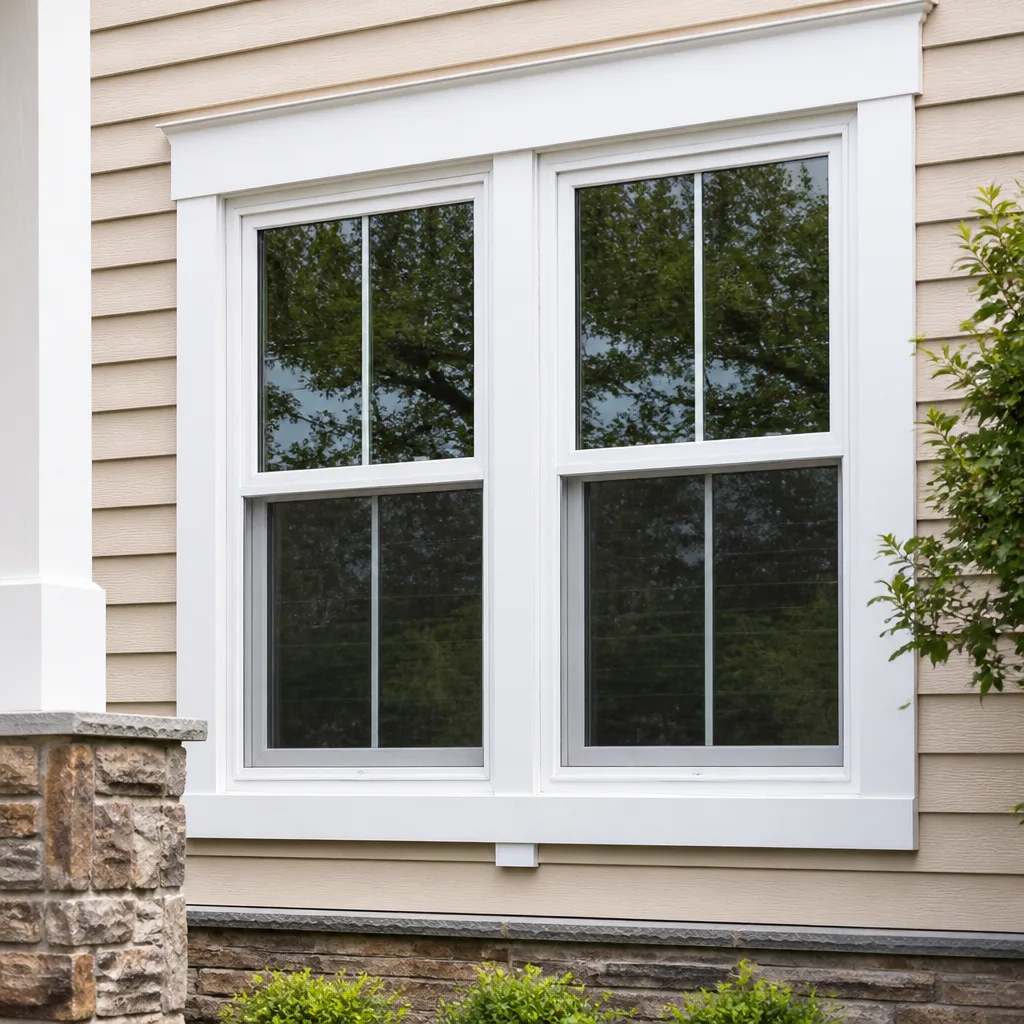 Double hung
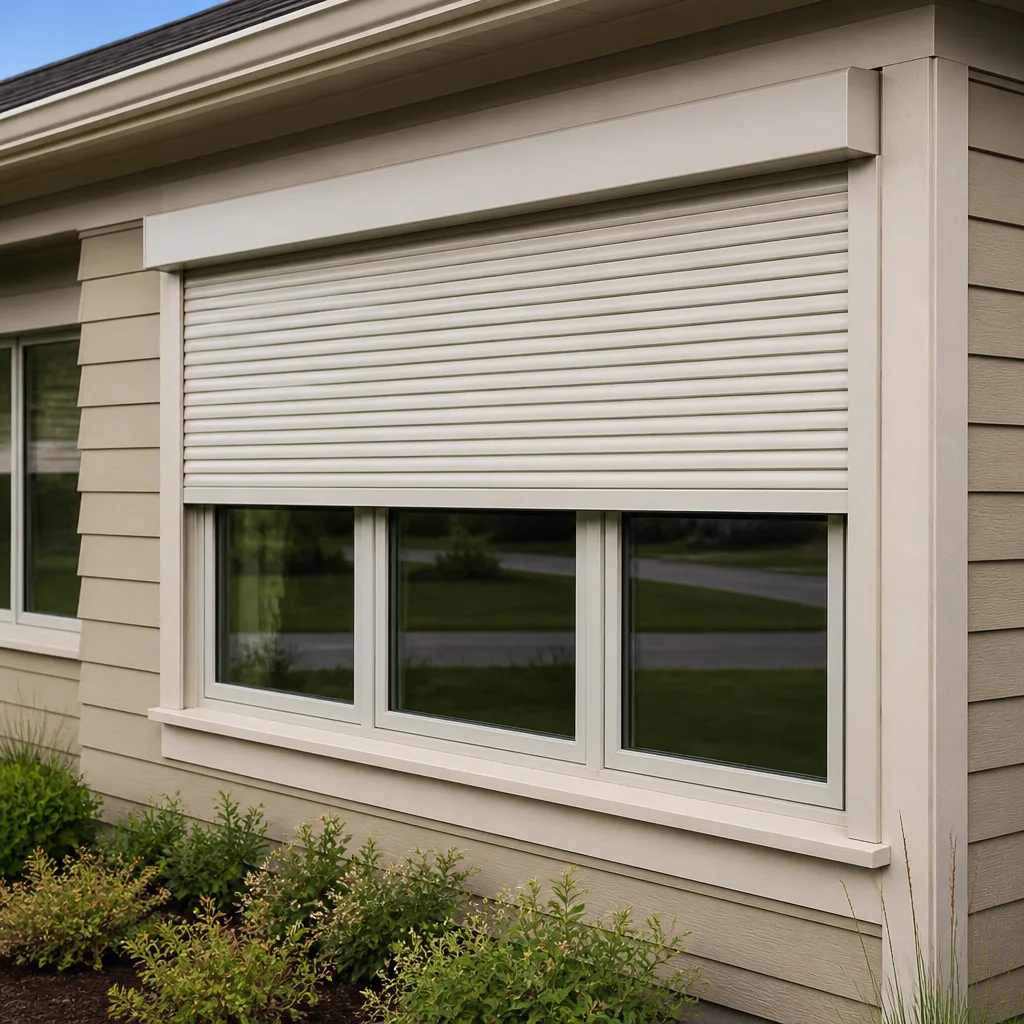 Horizontal roller
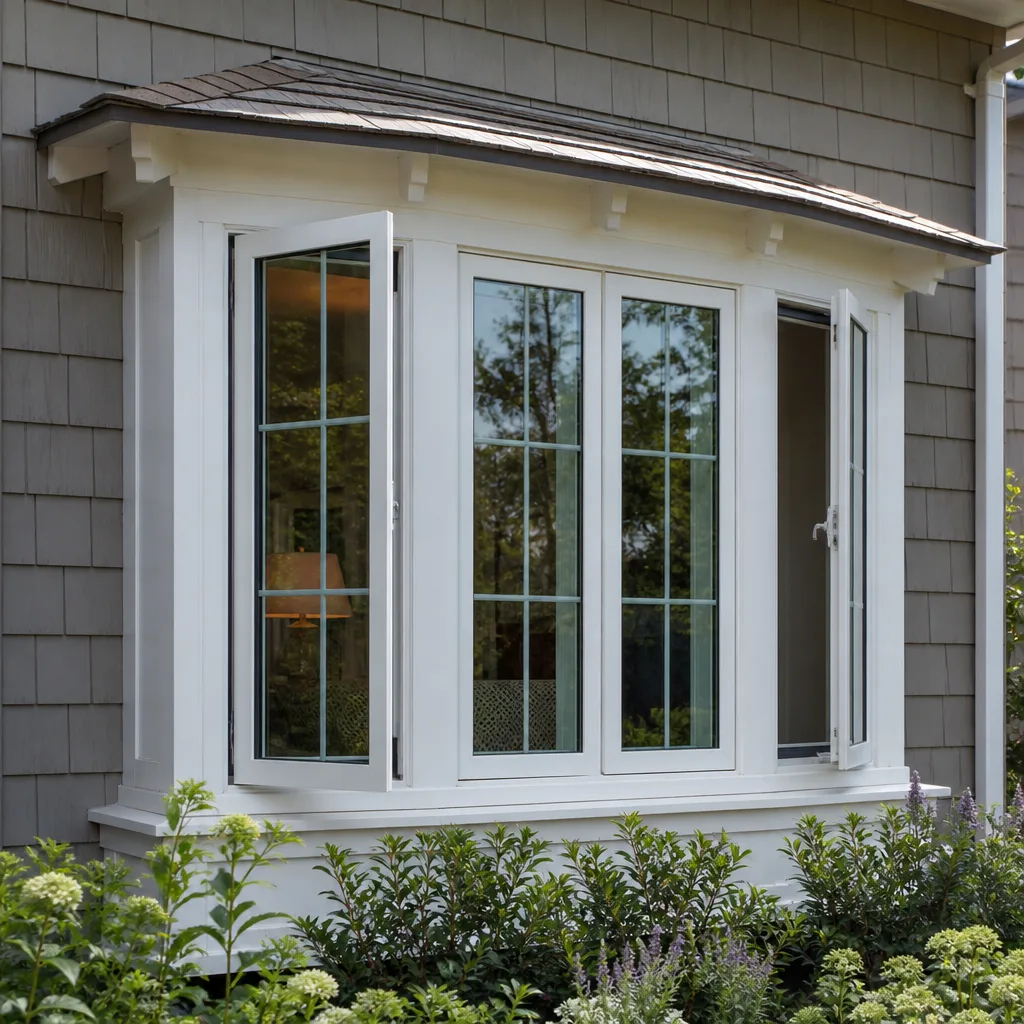 Casement
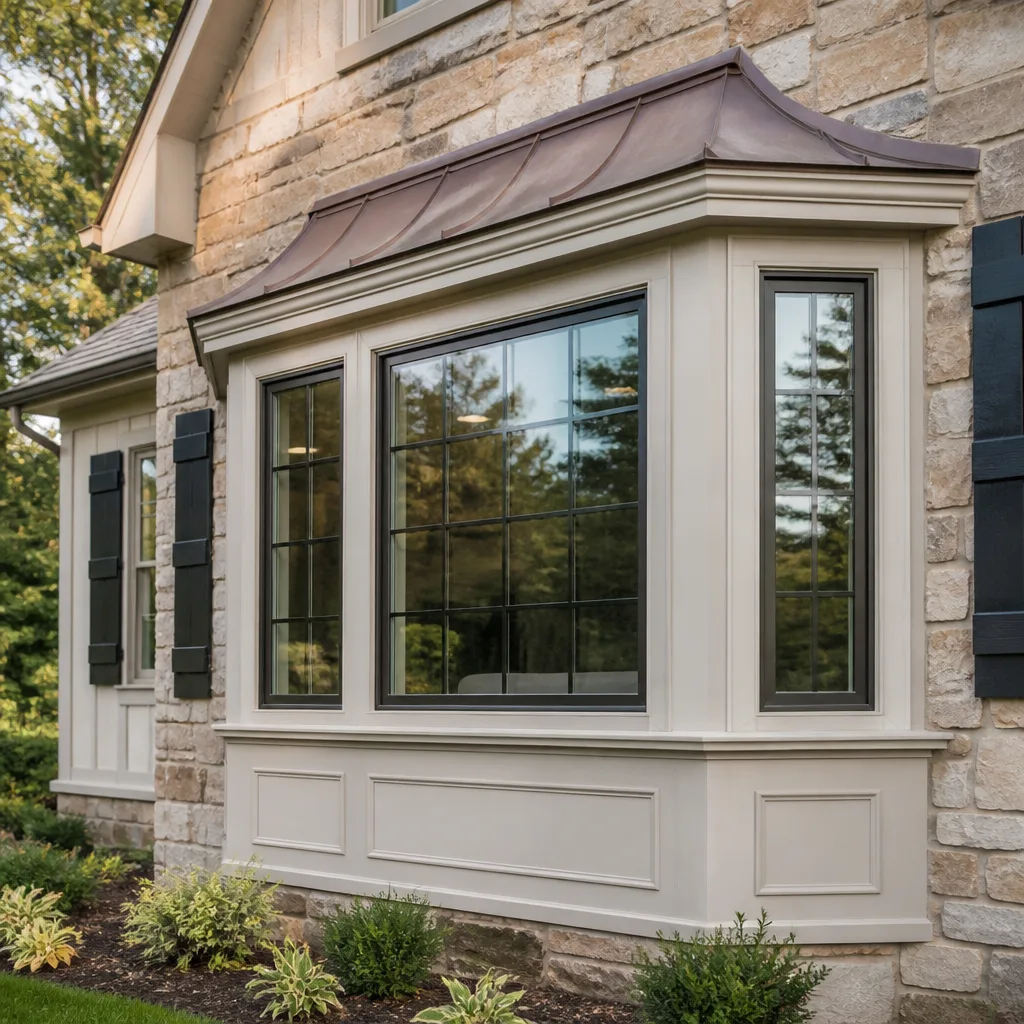 Bay & bow
 Entry doors
 Impact garage doors
 PGT
 CGI
Free in-home measure and quote - PGT, CGI and CWS impact lines compared on your actual openings, style by style
Get your free estimateDIY vs Professional Windows & Doors: The Spring Valley Homeowner’s Decision Guide
Plenty of homeowners can hang a pre-hung interior door in an afternoon. That skill doesn’t automatically carry over to an exterior window or entry door in Spring Valley, and the gap isn’t about talent. It’s about which mistakes you can undo. A crooked piece of casing trim comes off with a pry bar. Poor flashing behind a stucco wall keeps taking on water until the drywall and framing underneath start to swell, and by then you’re fixing the wall, not the window. This guide maps DIY window and door work by consequence, not by difficulty, so you can decide task by task where your time is well spent and where a licensed installer earns their fee. You’ll see the step-by-step breakdown, the repair costs that follow a bad attempt, the permit rules, the tool math, and how to check warranty terms before you touch a screwdriver.
Styles & brands we work with
- Single hung
- Double hung
- Horizontal roller
- Casement
- Bay & bow
- Sliding glass doors
- Entry doors
- Impact garage doors
- PGT
- CGI
Quick Answer
In Spring Valley, trim work, hardware and interior door hanging are reasonable DIY tasks, while exterior window and door installation, flashing and stucco finishing are not, mainly because the failure mode is hidden water damage rather than a visible defect. Nevada allows a homeowner to pull a permit for work on their own home in many cases, but most exterior replacements still need an inspection and a licensed finish. If the opening touches stucco or carries a manufacturer warranty you want to keep, hire the install.
Table of Contents
- The Decision Framework: Match the Task to the Consequence
- Recoverable Mistakes vs Latent Damage: Which Steps You Can Undo
- Why Stucco-Clad Homes Raise the Stakes for Exterior Installation
- Nevada Permits: When a Homeowner Can Pull Their Own
- Tool and Material Reality Check: What a Real Install Requires
- Will DIY Void Your Warranty? How to Verify Before You Decide
- Interior vs Exterior: Two Very Different Risk Profiles
- What a Bad DIY Install Actually Costs to Fix
- Common Mistakes to Avoid
- When to Call a Professional
- Frequently Asked Questions
- The Bottom Line
The Decision Framework: Match the Task to the Consequence
The useful question isn’t “Can I do this?” It’s “If I get this wrong, what does it cost to fix?” Every window and door project breaks down into tasks, and each task has a consequence level. Work through the list like a checklist rather than treating the whole project as one all-or-nothing decision.
At Spring Valley Windows & Doors, we talk through this with homeowners before quoting anything, because the answer is rarely “do it all yourself” or “do none of it.” Here’s how we sort the tasks:
- Low consequence (DIY-friendly): hanging interior doors, swapping door hardware and locksets, installing window coverings, sanding and painting trim, replacing a screen, caulking interior gaps, installing a peephole or door viewer.
- Moderate consequence (DIY only with real experience): replacing interior casing, installing interior door trim, painting or staining an exterior door, replacing a threshold sweep on an interior door, mounting a storm panel bracket on masonry.
- High consequence (professional): any exterior window or door replacement, flashing and pan work, sill sealing, stucco cutting and patching, anchoring into structural framing, glass replacement on a unit affecting the insulated seal, and any work that changes the opening’s performance.
The low-consequence list is where a confident DIYer saves real money. The high-consequence list is where an unrecoverable mistake lives. Our technicians have up to 10 years of experience, and the single most consistent thing they see is not amateur workmanship on visible surfaces. It’s hidden installation detail that looked fine for over a year before the first sign of trouble.
Recoverable Mistakes vs Latent Damage: Which Steps You Can Undo
Recoverable mistakes show themselves immediately. You hang a door, it binds against the jamb, you adjust or re-set the hinges. You cut trim a hair short, you buy another stick. The cost of the mistake is the cost of the material plus an afternoon. Latent damage works the other way: the work looks correct, passes a visual look-over, and fails quietly behind the wall.
Latent damage in window and door installation comes from a short list of steps. Get any of these wrong and nothing looks amiss:
- Flashing and drainage plane: the weather-resistive barrier and window flashing must shed water outward and overlap in the right direction. Reverse the layering and water runs behind the wall instead of off it.
- Pan flashing at the sill: the sill needs a sloped pan or back-dam so water that reaches the sill drains out rather than pooling in the framing cavity.
- Sill sealing and backer rod: sealant applied where it can’t drain creates a bathtub. Backer rod controls joint depth so sealant cures and moves with the materials.
- Air sealing around the frame: gaps between the rough opening and the unit leak air and let warm, humid interior air condense inside a wall cavity when the outside is cold.
- Header and jack stud integrity: the opening must be properly supported so the unit doesn’t rack and bind, which stresses the frame and the glass seal over time.
Latent failures typically surface as staining or swelling inside the drywall below the window, a soft sill, or paint that keeps bubbling along the same line. Both desert and high-desert climates see this on the siding and stucco side, and the hidden air-sealing failure cuts both ways: heat in and cooling dollars out.
There’s an honest dividing line here. If you can’t open the wall and inspect the flashing and framing, you can’t see whether the job is right. That’s an argument for hiring, not an argument that homeowners lack skill.
Why Stucco-Clad Homes Raise the Stakes for Exterior Installation
In Spring Valley and the surrounding Las Vegas Valley, most homes are stucco over wood framing, sometimes over block. Stucco is a hard, cementitious skin applied over a weather-resistive barrier and lath. It doesn’t flex, it doesn’t come off cleanly, and the layer underneath is where the whole system’s drainage happens. On a wood-frame home with vinyl or fiber-cement siding, an installer can remove and reinstall siding relatively cheaply. On stucco, the window and the stucco are one assembly.
That difference has real consequences for a DIY approach:
- Removal is destructive. The stucco around the opening has to be cut back to a clean, straight edge, usually with a grinder or a stucco saw. That work creates dust, and the cut must be straight and at the right depth.
- Flashing becomes a two-sided system. The unit flashing has to tie into the wall’s weather-resistive barrier, and the stucco has to integrate after the fact with a proper weep screed, sealant, or liquid-applied membrane. This is the step most tutorial videos skip.
- Stucco patches move differently. A patch that isn’t matched and properly cured can crack along the joint and let water in.
- Wind load and impact come into play. The valley gets wind events, and windows here are often chosen for impact resistance and wind-load compliance. That choice only works if the unit is fastened correctly at the right points.
This is why we match the product to your home, not to our inventory. Impact-rated lines like PGT are a real answer for some homes and unnecessary expense for others. The brand matters less than the assembly: frame, flashing, drainage, and finish. Get the assembly right and the window just needs to be the right window. Get it wrong and even a premium unit will leak.
Worth saying plainly: an exterior replacement done badly in stucco isn’t a window problem, it’s a wall problem. That’s why we handle the full exterior opening with one accountable crew rather than splitting the finish work off to a separate trade.
Nevada Permits: When a Homeowner Can Pull Their Own
Nevada generally allows a homeowner to pull a permit for work on a home they own and occupy, in many cases without a contractor’s license, provided the homeowner does the work and the home isn’t being sold. That allowance has real limits. Work on a rental, work that requires engineered drawings, and work involving structural changes usually requires a licensed contractor. Your local building department is the authority on your specific project, so ask before you demo anything.
The permit alone doesn’t make the work safe. It creates an inspection checkpoint. Here’s what that means in practice for a window or door replacement in Spring Valley:
- Get the permit before you order the unit. The permit application usually asks for the product specifications, and the approval sometimes restricts what can go in.
- The window or door must meet the code required for the opening. Impact-rated products may be required for wind-load compliance, especially where elevation or exposure changes the requirement. This is where “same window as the old one” can fail.
- The inspection happens at specific stages. Flashing and nailing are often checked before the finish goes on, so schedule accordingly.
- The final inspection requires a finished, code-compliant assembly. A patch that looks OK but doesn’t shed water can fail the inspection.
Permits and inspections are one of the places DIY most often runs into a wall. Not because the work is beyond reach, but because the process has steps a first-timer doesn’t know to schedule. If you’re self-performing, call your city building department before you start and ask what the inspection sequence looks like. If you’re hiring, ask whether permits are pulled and inspections passed as part of the quote. A written, fixed-price quote that covers permits and inspections is honest; one that quietly leaves them to you isn’t.
One more note on scope: a licensed general contractor is required for some structural work, and electrical rough-in for new installations may need a separate licensed electrician. We scope window replacement, window installation, and door installation as our covered work, and we don’t quote roofing or siding. If your project needs those trades, we’ll tell you up front.
Tool and Material Reality Check: What a Real Install Requires
Every tutorial opens with a drill and a pry bar. A real exterior window installation in Spring Valley needs more than that once you account for stucco, framing, and waterproofing.
- Stucco cutting: an angle grinder with a diamond blade or a stucco saw, rated for the dust. Cheap grinders overheat and the cut wanders.
- Moisture metering: a moisture meter to check the framing and sheathing at the opening. Not a guessing tool.
- Ladder and fall protection: safe ladder placement and, for second-story openings, edge protection or staging. Height work on a ladder is a leading cause of serious injury on home remodel jobs.
- Flashing and sealing: self-adhered flashing membrane, backer rod, and the correct sealant type for stucco and the unit material. These are not interchangeable.
- Framing repair: circular saw, reciprocating saw, and enough lumber to repair rot, plus a framing nailer or impact driver with structural fasteners.
- Finishing: stucco prep supplies, a proper mixing setup, and a way to match color and texture on the patch.
- Installation-specific tools: a 4-foot level, a laser level, a shim kit, a caulking gun with sealant rated for the application, and PPE – gloves, eye protection, hearing protection, and a respirator.
Add it up and a one-time project can easily run to several hundred dollars in tools before you buy a single window. That’s fine if you’ll use them again. It’s a poor return if this is a once-in-a-decade job, and it doesn’t cover the wall damage from a bad first attempt. The tools cost you once. The wall costs you every time it rains.
Material cost is the other half. Window and door units are sized to a fraction of an inch. Rough openings in older Spring Valley homes vary, so the cheap route of ordering a stock size and making it fit tends to backfire. Product selection should follow the measurement, not the other way around.
Will DIY Void Your Warranty? How to Verify Before You Decide
Many window and door manufacturers require installation by a certified or authorized installer, or adherence to their published installation instructions, for certain warranty components to remain valid. The glass seal, the frame, and the hardware often carry different terms. That’s why the warranty question has to be settled before you order, not after.
Here’s how to check, in the order that matters:
- Read the manufacturer’s warranty document for the specific product line you’re buying. Look for language about installation, certified installers, or required accessories.
- Ask the supplier to confirm in writing who may install the product and keep the warranty valid. If the answer is “anyone,” get it in writing.
- Check whether the product is being installed within the manufacturer’s published installation instructions. Most warranty language ties validity to those instructions, not to who did the work.
- Ask about any extended or workmanship warranty the installer provides. A manufacturer warranty usually covers the product, not the install. The install is where the leaks start.
As a multi-brand installer working with PGT, CGI, CWS, ES Windows, ECO Window Systems, Mr-Glass, Therma-Tru, and ViewLux, we deal with a range of warranty terms and can tell you which ones are strict about certified installation. If you’re planning a Therma-Tru entry door or a PGT impact window and want to know where the warranty boundaries sit before you decide, call us. Ask us why we recommend one brand over another – we’ll give you a straight answer, even if your plan is to self-install.
The warranty question is also one of the more reliable arguments against DIY on exterior units. A warranty that won’t cover a leaking sill because the flashing was wrong is the same as no warranty, and the reason you chose a premium product disappears.
Interior vs Exterior: Two Very Different Risk Profiles
Interior and exterior openings look related, but they fail differently. Interior door installation is mostly geometry, fit, and finish. Exterior window and door installation is mostly water management and structural support. Blending the two is where people get into trouble.
Interior door tips we stand behind: a pre-hung door on an existing jamb often needs only fine shimming and hinge adjustment. A hollow-core slab on a properly framed jamb is a reasonable weekend job. A re-hung solid-core door on an out-of-plumb opening needs more work than most tutorials admit. And if the door is an exterior storm door or a sliding patio door, it’s no longer an interior job. Some thresholds, sweeps, and gaskets only matter when the approach is weather-tight.
Exterior window replacement is where consequences compound. For a whole-house window replacement project in Spring Valley, each opening touches the wall assembly, the drainage plane, the framing, and the finish. An error at any one step propagates. That’s why we scope replacement work as a system: the window, the flashing, the sealing, and the trim are one job and one accountable crew. It’s also why we draw on impact-rated and energy-efficient product lines where the home’s needs call for them, from ECO Window Systems and ES Windows on the energy side to PGT and CGI on the impact side, plus decorative line options including ViewLux. Product choice should serve the opening, not the other way around.
One practical test: if the project changes the building envelope, treat it as professional work. If it changes the surface finish or interior fit, DIY is realistic.
What a Bad DIY Install Actually Costs to Fix
The math most people run is “DIY saves the labor cost.” The math they should run is “DIY saves the labor cost only if it’s right.” When it isn’t, the repair is larger than the original job.
The repair sequence for a bad exterior window install looks like this:
- Tear out the bad installation to inspect the flashing and framing.
- Assess and replace any rot or damaged sheathing.
- Reinstall the unit with proper flashing, pan, and sealing.
- Rebuild the stucco around the opening, matching texture and color.
- Repair interior drywall, paint, and trim.
None of those steps are avoidable once water has entered the assembly. Replacing a unit that hasn’t failed isn’t cheap either. That’s why the sensible way to use DIY savings is on the parts of the project where a mistake is recoverable: interior trim, hardware, painting, and interior door hangs. Put the savings where they can’t turn into remediation.
We quote projects as a written line-item estimate so you can see the scope. Fixed price, no change orders once work begins, and no surprise line items. If you’re comparing a DIY bid to a pro bid for the same Spring Valley project, ask us for the same line-item breakdown on the professional side so the comparison is apples to apples. Estimates are free.
Common Mistakes to Avoid
- Treating “I hung an interior door” as qualification for an exterior install. Fit and finish are geometry. Water management and wind load are the job, and they reward experience the interior hang doesn’t develop.
- Cutting back stucco without knowing what’s underneath. In Spring Valley, there’s often framing, sheathing, a weather-resistive barrier, and lath. Cutting too deep damages the barrier; cutting too shallow leaves the unit fighting the wall.
- Guessing at the permit requirement instead of calling the building department. Nevada allows some owner-builder permits; it does not allow you to skip the inspection sequence. Know what’s required before you start.
- Ordering the window before the measurement is verified. Rough openings in existing homes vary. A small misfit turns into a structurally compromised install, not a quick fix.
- Assuming a manufacturer warranty covers a non-certified install. Some product warranties depend on the install being done to the manufacturer’s specification, often by a certified or authorized installer. Verify before you buy.
- Sealing where water is supposed to drain. Sealant applied at the bottom of an opening where a weephole or gap should drain water creates a dam. The leak shows up months later inside the wall.
- Working at height without fall protection. Any second-story window or door install in Spring Valley involves ladder work. This is a serious injury risk that a tutorial video never mentions.
When to Call a Professional
Call a professional when the opening touches the building envelope or the wall. That includes any exterior window replacement or new window installation, any exterior door replacement, any project involving stucco cutting or patching, any flashing, pan, or sill sealing work, any installation where an impact or wind-load rated unit is required, any work on a second-story opening, and any project where the manufacturer’s warranty depends on a certified installer. It also includes any job where the opening is out of square, the framing is damaged, or the wall assembly looks compromised.
Interior door and window work is generally a safe DIY zone. If you’re uncertain about the boundary for your particular project, that uncertainty is a reason to get a professional opinion before ordering, not after.
Spring Valley Windows & Doors offers free estimates in Spring Valley – call (833) 549-7716. We answer 24/7. Fast dispatch from 7am to 7pm, Sunday through Friday. One crew. Eight trusted brands. No subcontracting the finish work.
Frequently Asked Questions
In many cases a homeowner can legally perform the work on a home they own and occupy, but most exterior replacements require a permit and inspection, and stucco-shell homes are where DIY fails most often. The work itself is not the issue. The hidden flashing and drainage detail is. If the opening touches stucco, treat it as professional work. Call (833) 549-7716 for a free estimate.
Most likely yes, especially for a full replacement that changes the opening or the wall assembly. Your city building department is the authority here, so ask before you order the unit. Nevada generally allows a homeowner to pull a permit for work on a home they occupy, but the inspection sequence still applies, and some projects require a licensed contractor. Call us to ask how we handle permits on estimates – we pull them and pass the inspections as part of the job.
It can. Many manufacturers require installation by a certified or authorized installer, or adherence to their published installation instructions, for certain warranty components. The glass seal, the frame, and the hardware can carry different terms. Verify in writing before you buy. If you’re planning a PGT or Therma-Tru product and want to know how the warranty is affected, ask us before you order. Call (833) 549-7716.
It varies with how much the wall has taken on water, but the repair generally includes removing the unit, repairing framing or drywall, reinstalling with proper flashing, and patching stucco and interior surfaces. That sequence routinely runs more than the labor savings from the DIY attempt. Call (833) 549-7716 for an exact quote – estimates are free.
Ask four things: whether they pull the permits and pass the inspections, whether they offer fixed price with no change orders, which manufacturer warranties apply and who must install to keep them valid, and whether they can handle the full opening including the exterior finish. A written, line-item estimate is the other baseline – a verbal price isn’t one. Our technicians have up to 10 years of experience. Call (833) 549-7716.
One contractor for the full exterior opening is generally better for the finished result, because the flashing, sealing, and finish around any opening have to work together. Splitting the window and door work off to separate trades is how leaks and mismatched finishes start. We scope window replacement, window installation, and door installation together. Call us to talk through your project. Estimates are free.
The Bottom Line
The DIY vs professional question for windows and doors in Spring Valley comes down to consequences, not capability. Interior door hanging, hardware, trim casing, and painting are reasonable DIY tasks, and the money you save is real. Exterior window and door installation turns on flashing, pan work, sill sealing, and stucco finishing, where a mistake looks fine for a year and then shows up inside the wall. Nevada’s owner-builder permit rules exist, but the inspection sequence still applies, and warranties often depend on certified installation. Put your savings where a mistake is recoverable. Put your money where the wall is.
Spring Valley Windows & Doors works across eight trusted brands, including PGT, CGI, Therma-Tru, and ViewLux, and covers window replacement, window installation, and door installation with one accountable crew. Free estimates, written line-item quotes, fixed pricing with no change orders, permits pulled and inspections passed. Call (833) 549-7716. We answer 24/7. Fast dispatch from 7am to 7pm, Sunday through Friday. You can also learn more about Spring Valley Windows & Doors, see our window replacement work, review our window installation process, and read more about Spring Valley.
Written by the team at Spring Valley Windows & Doors.
See the difference
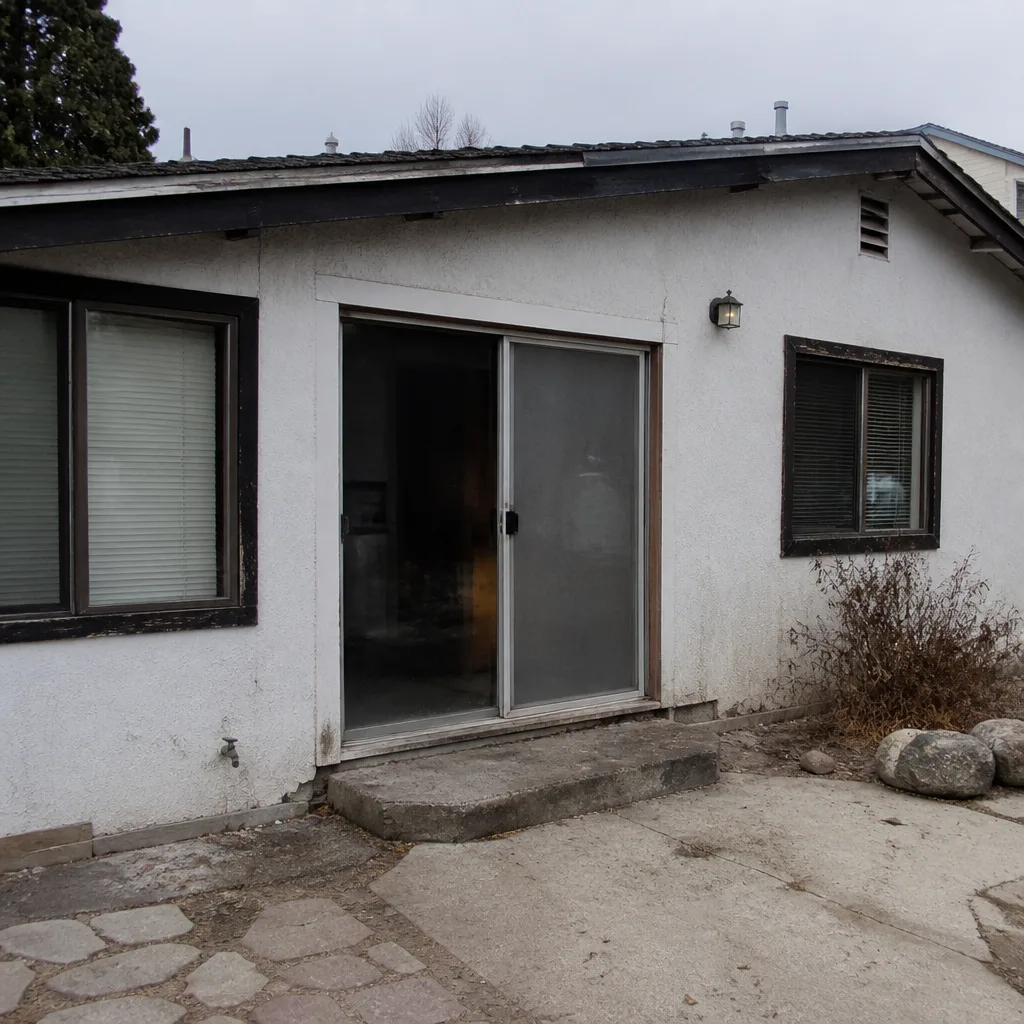
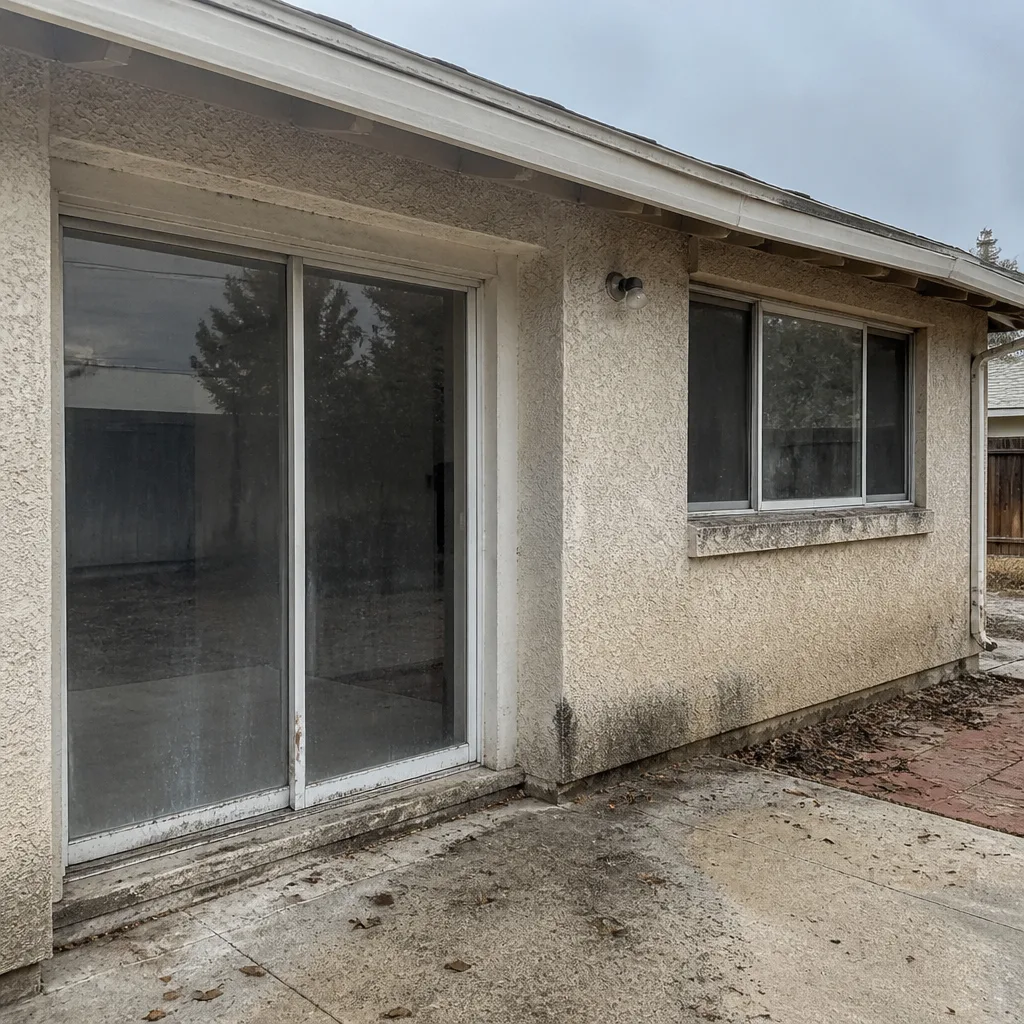 Before
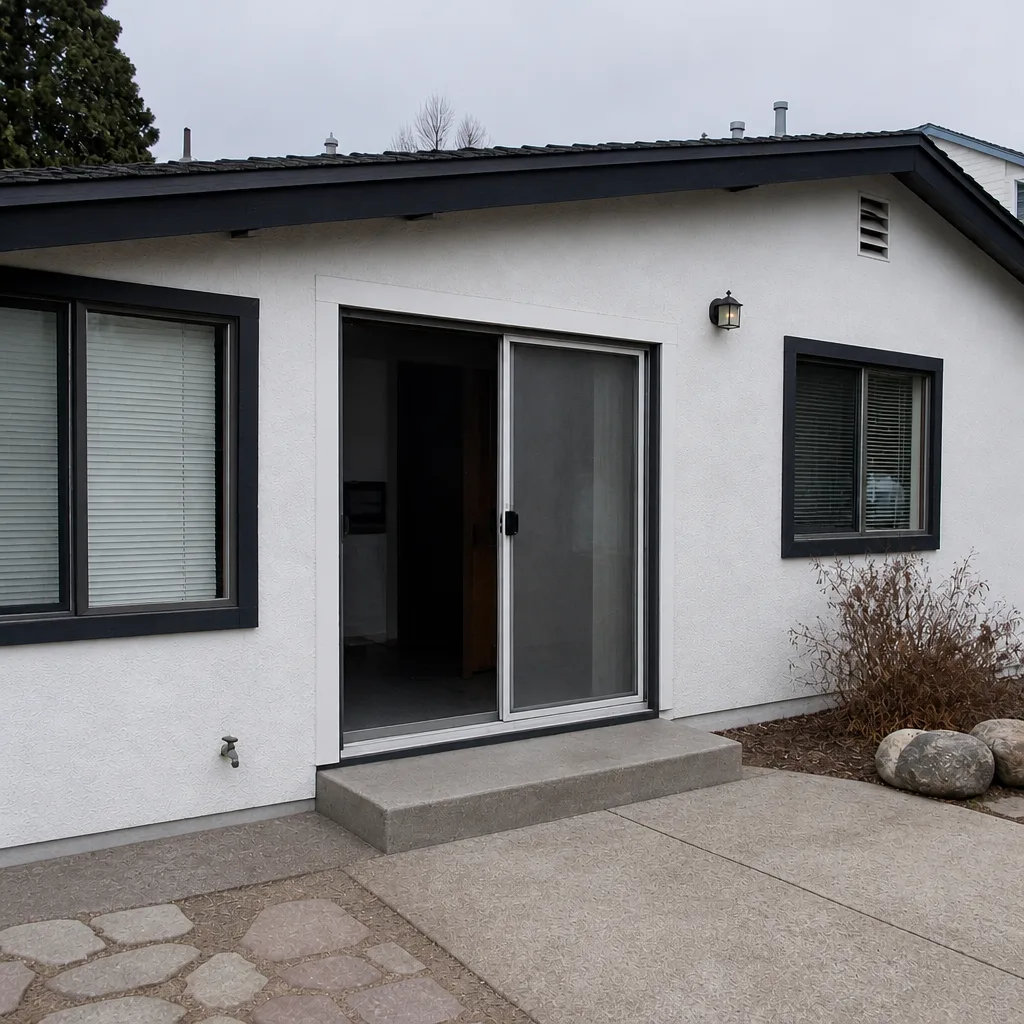
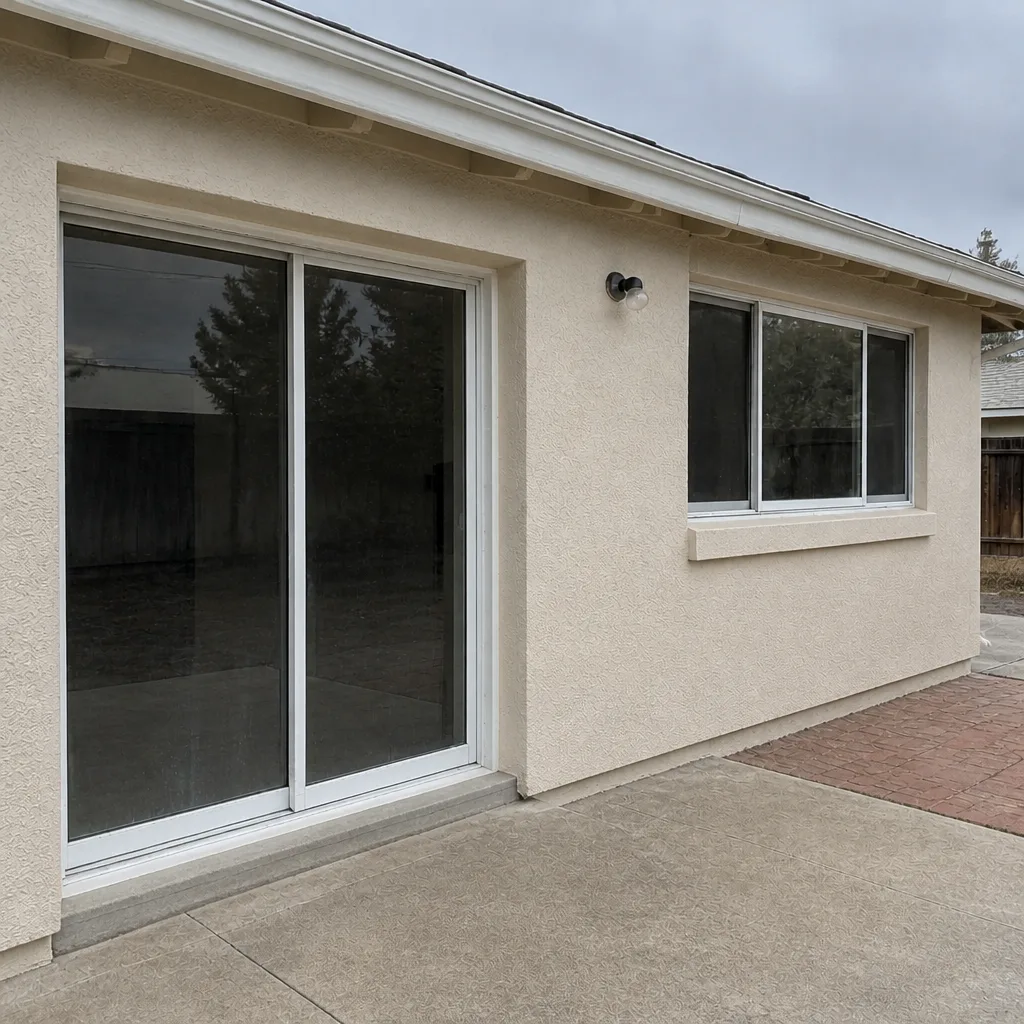 After
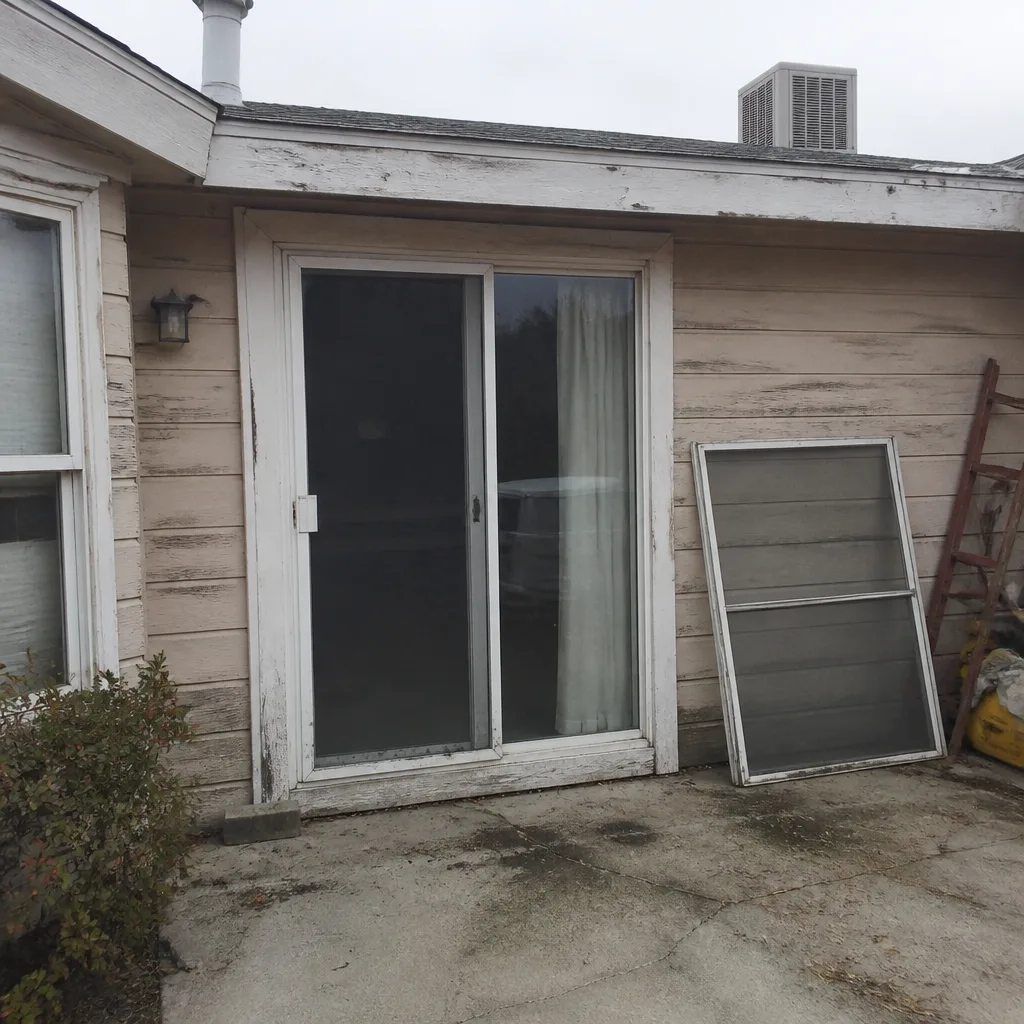 Before
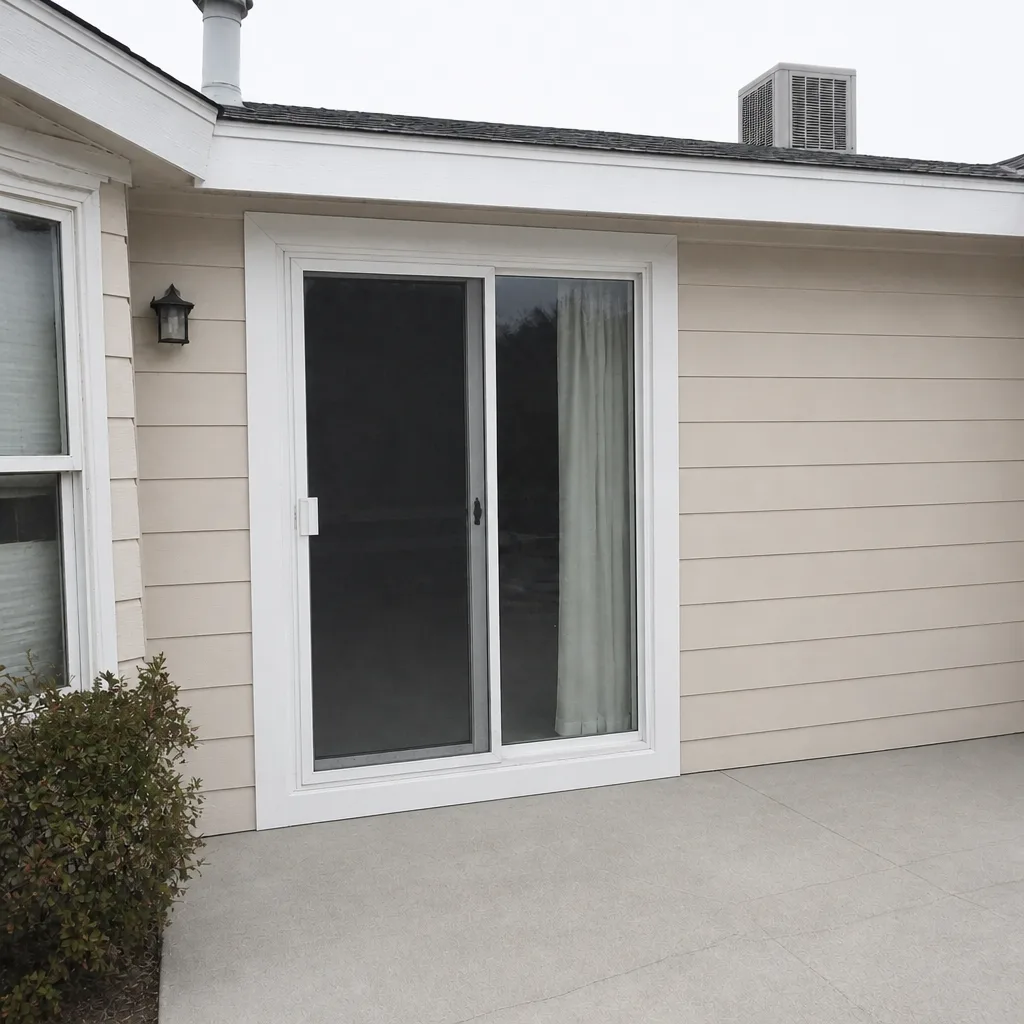 After
 Before
 After